20-08-2021 The Start
After a bit of a summer hiatus I am trying to get back into the swing of things. With covid and the lack of events and such my sewing-focus is at an all time low. Now I have learned about myself in the past years that sometimes I just need to start on a project and then the creativity will follow. To make myself follow trough with this project I decided to document it on the Blog.
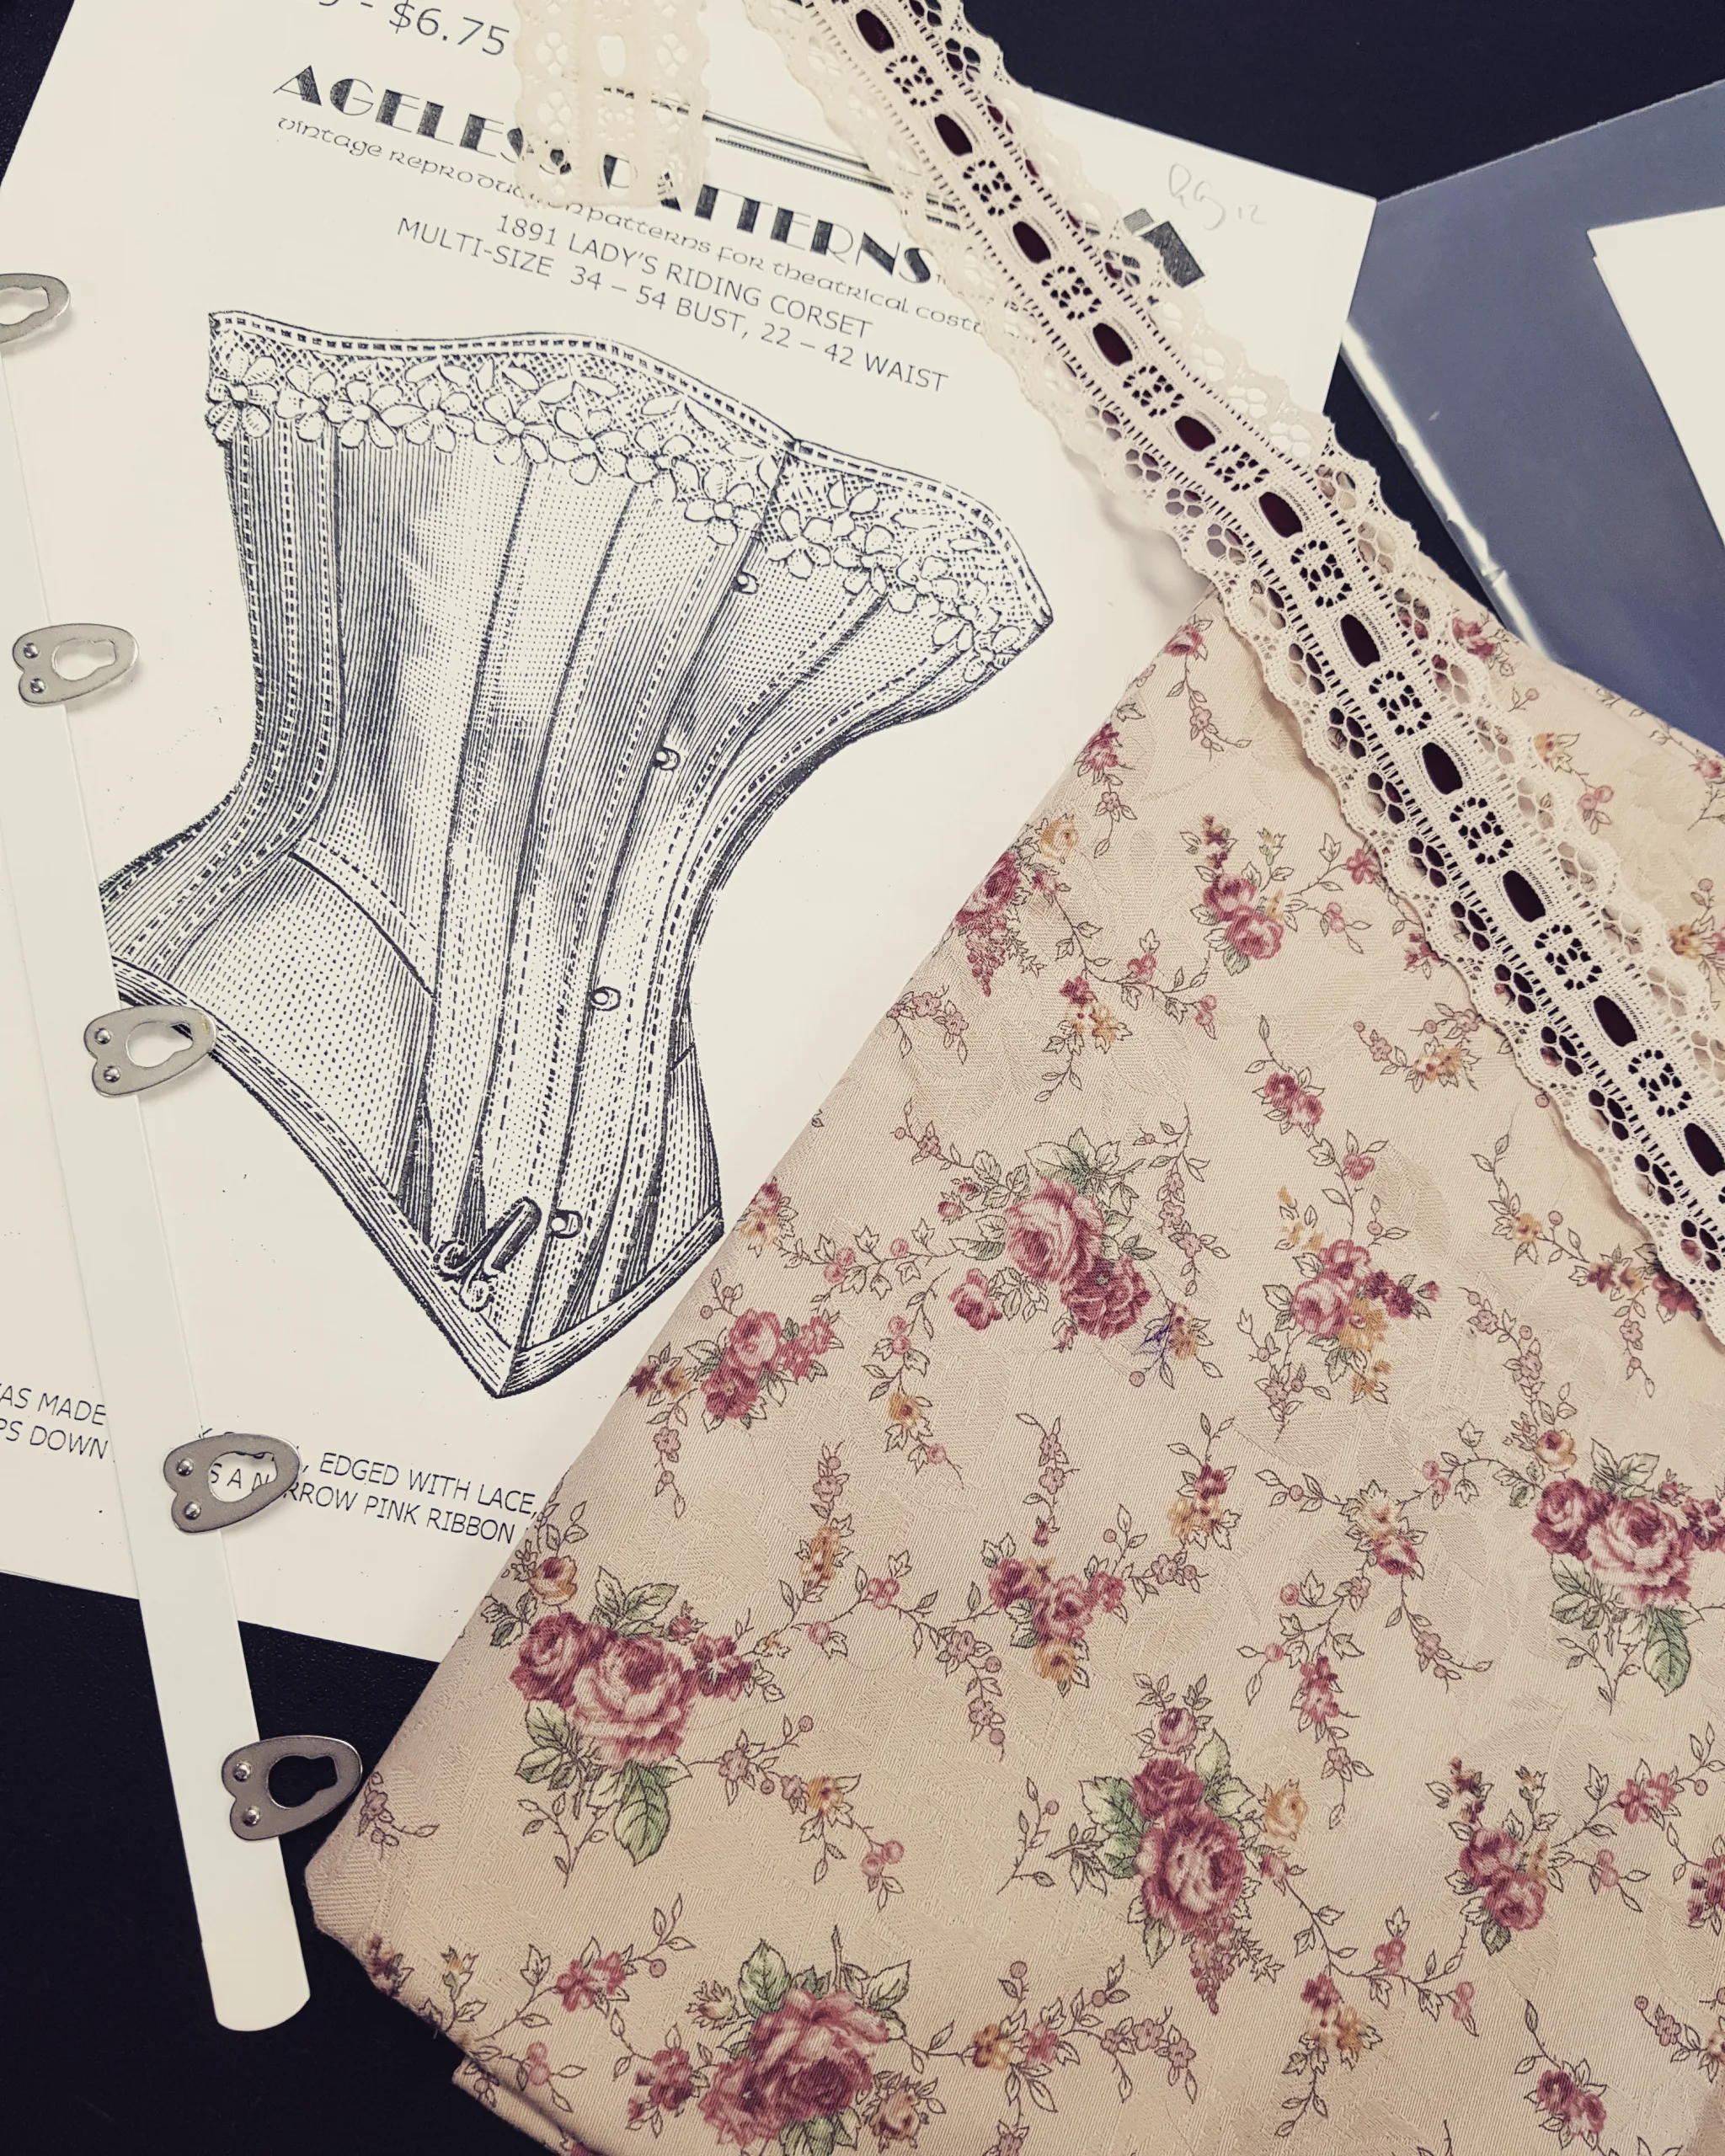
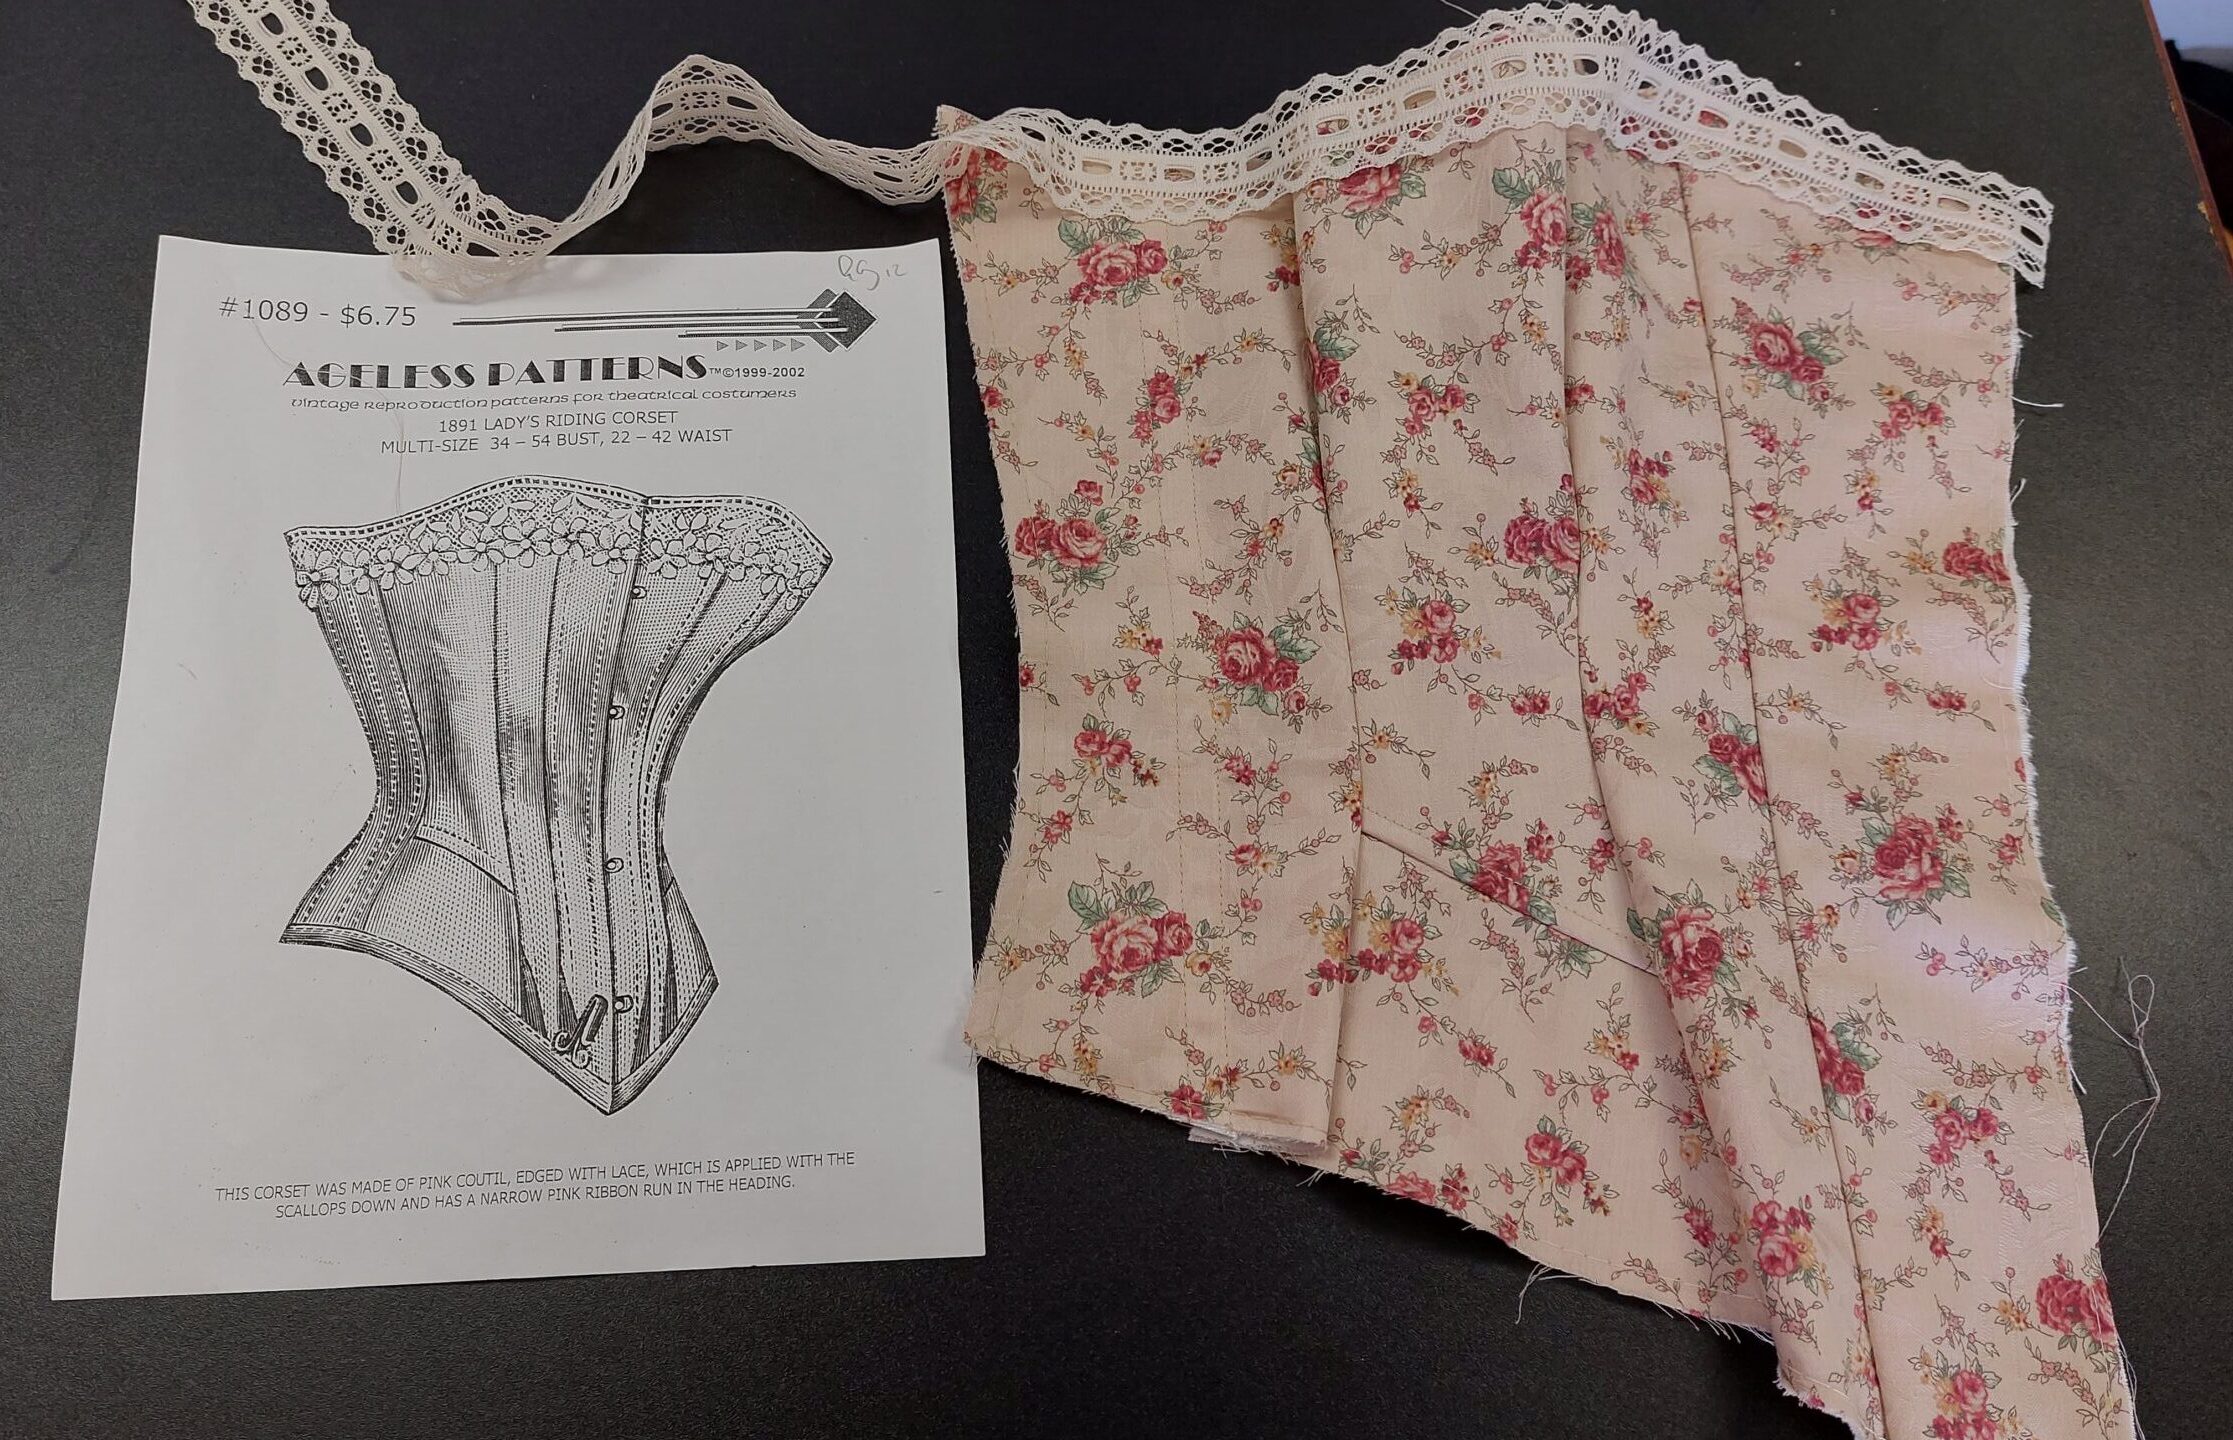
A corsetry colleague of mine was selling a part of the corset making collection, including this ageless patterns version of a 1891 riding corset. I bought this from her in the hopes that it will rekindle my love for corsetry.
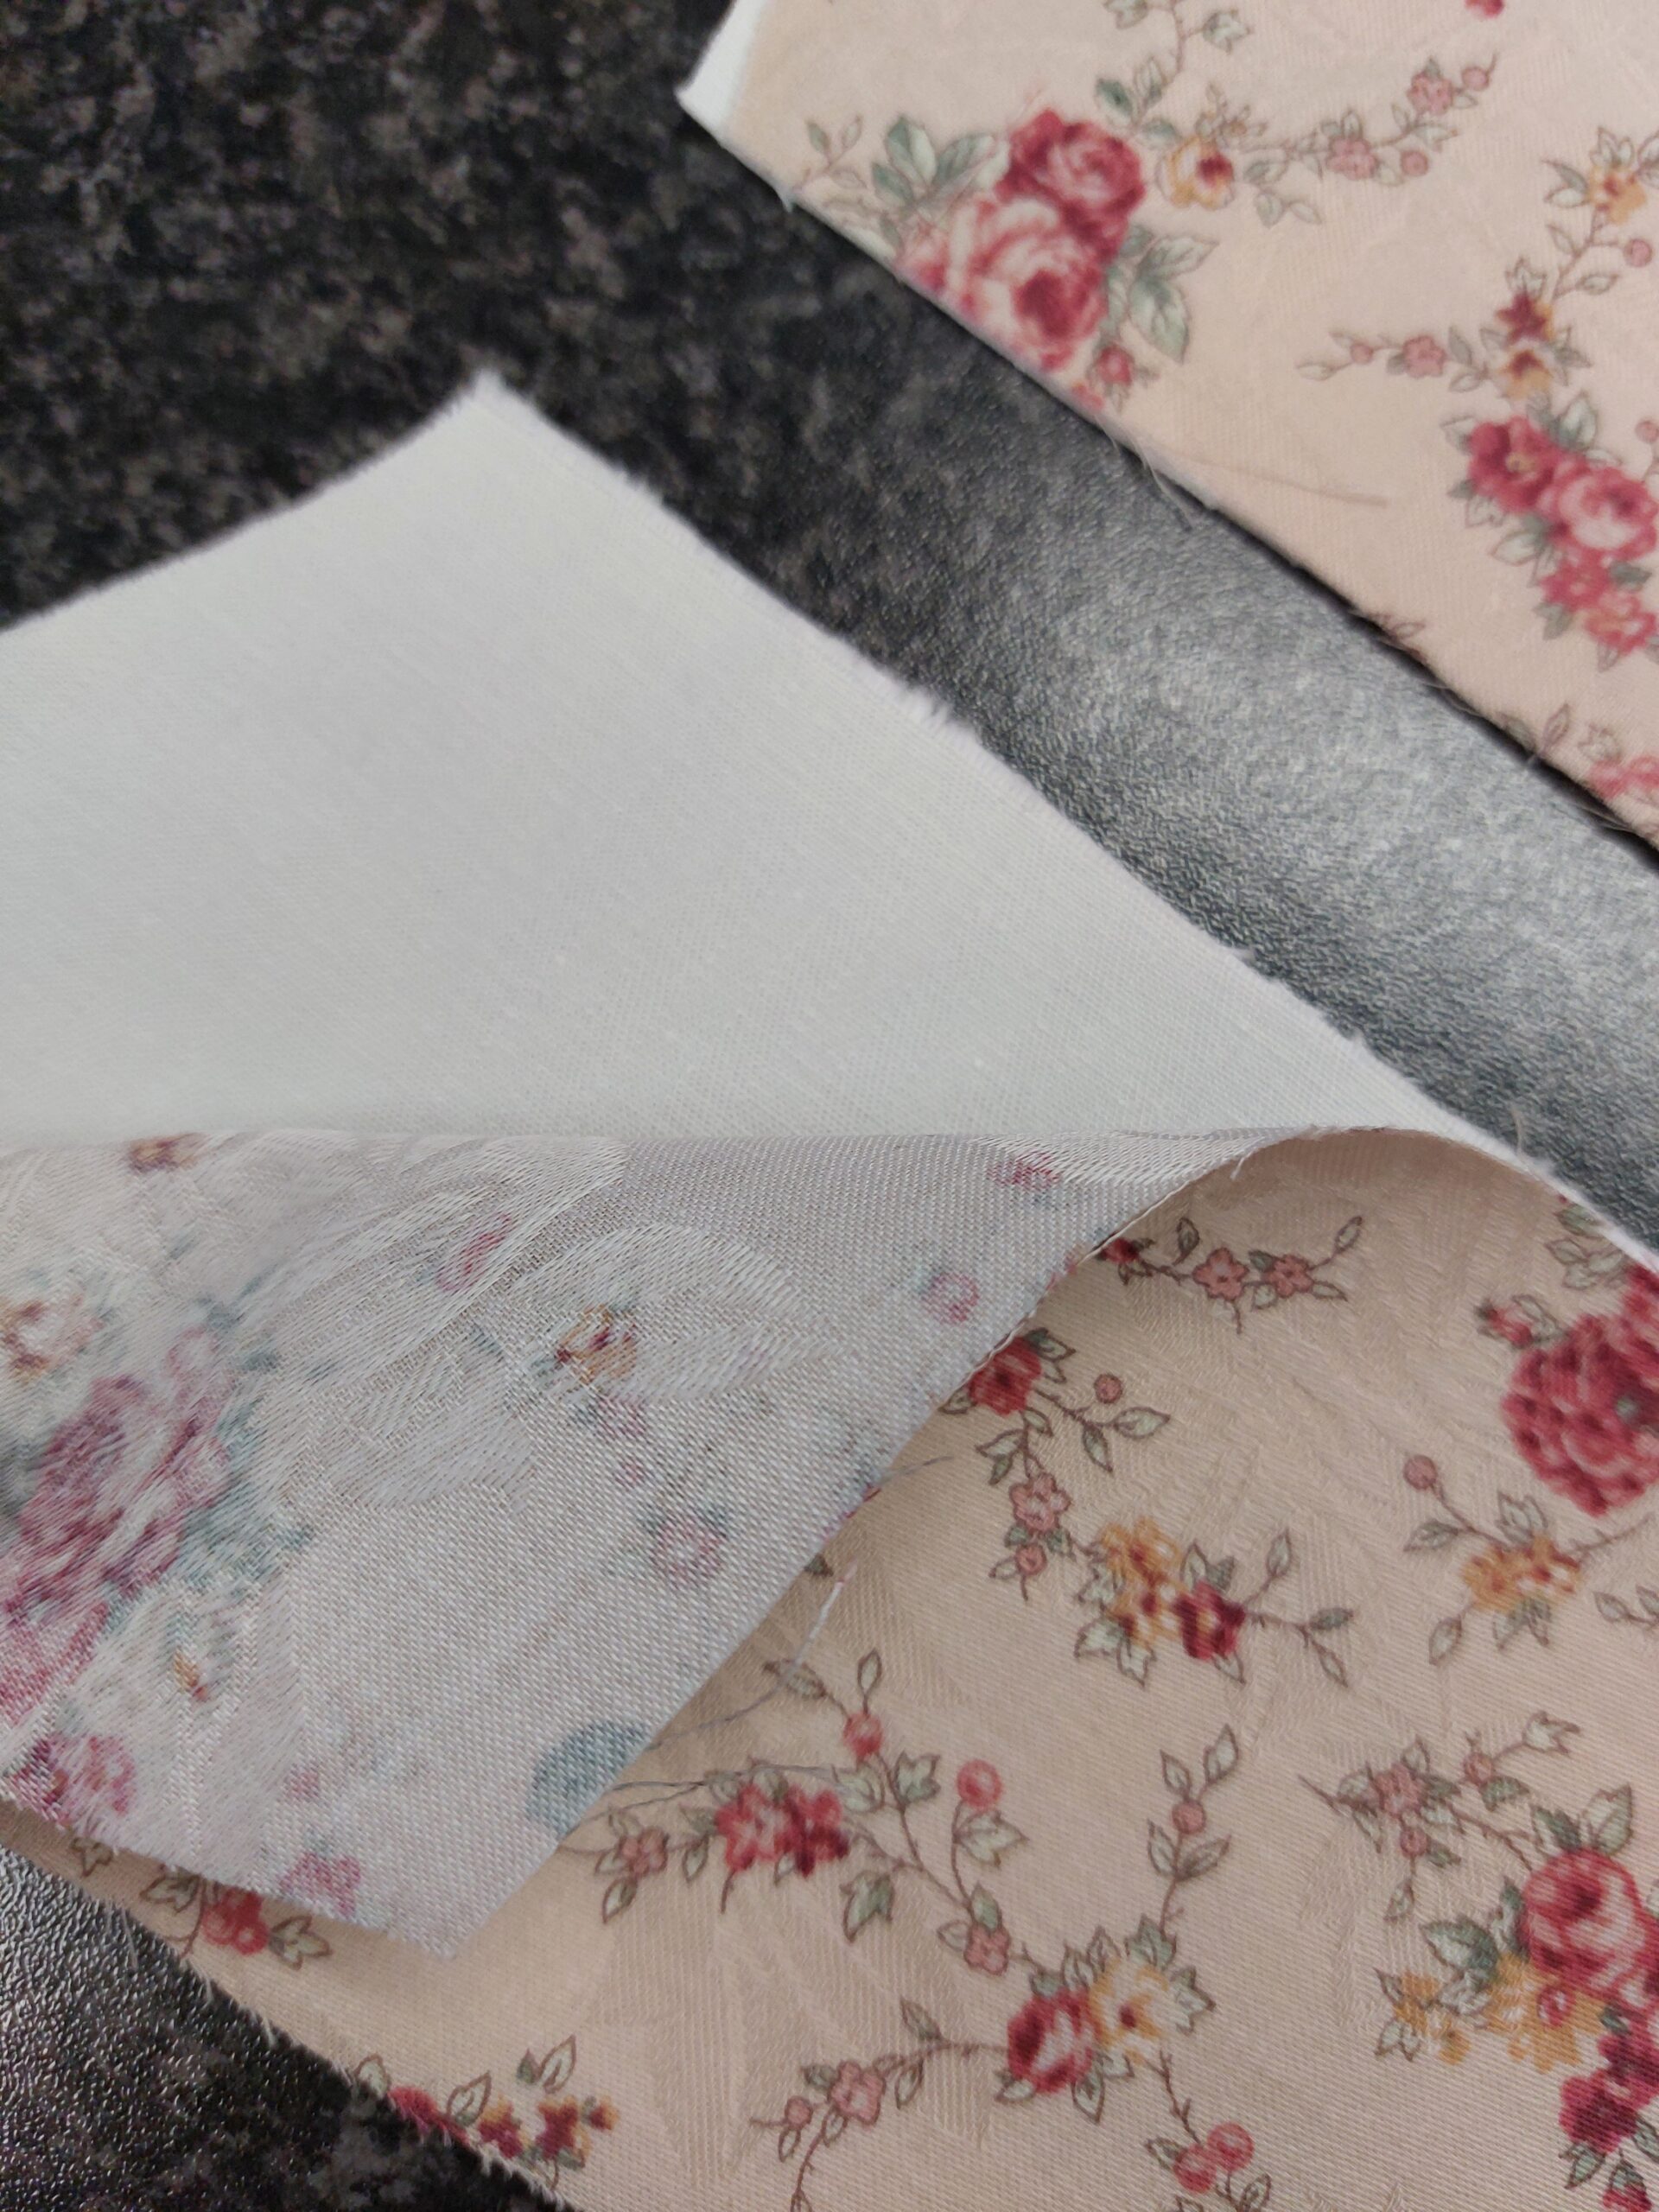
Since this is not a commissioned project I decided that it has to be made largely from my stash of fabrics. I have had this floral quilting fabric for ages, the lace is left over from a commission from some years back, and the velvet ribbon is also a left over stash piece.
27-8-2021 – The pattern
If you have worked with Ageless patterns before you may know that the sizing is a little off at times. Ageless patterns takes patterns from historical sources and grades them. So the pattern is just as it was back then. They do add seam allowance.
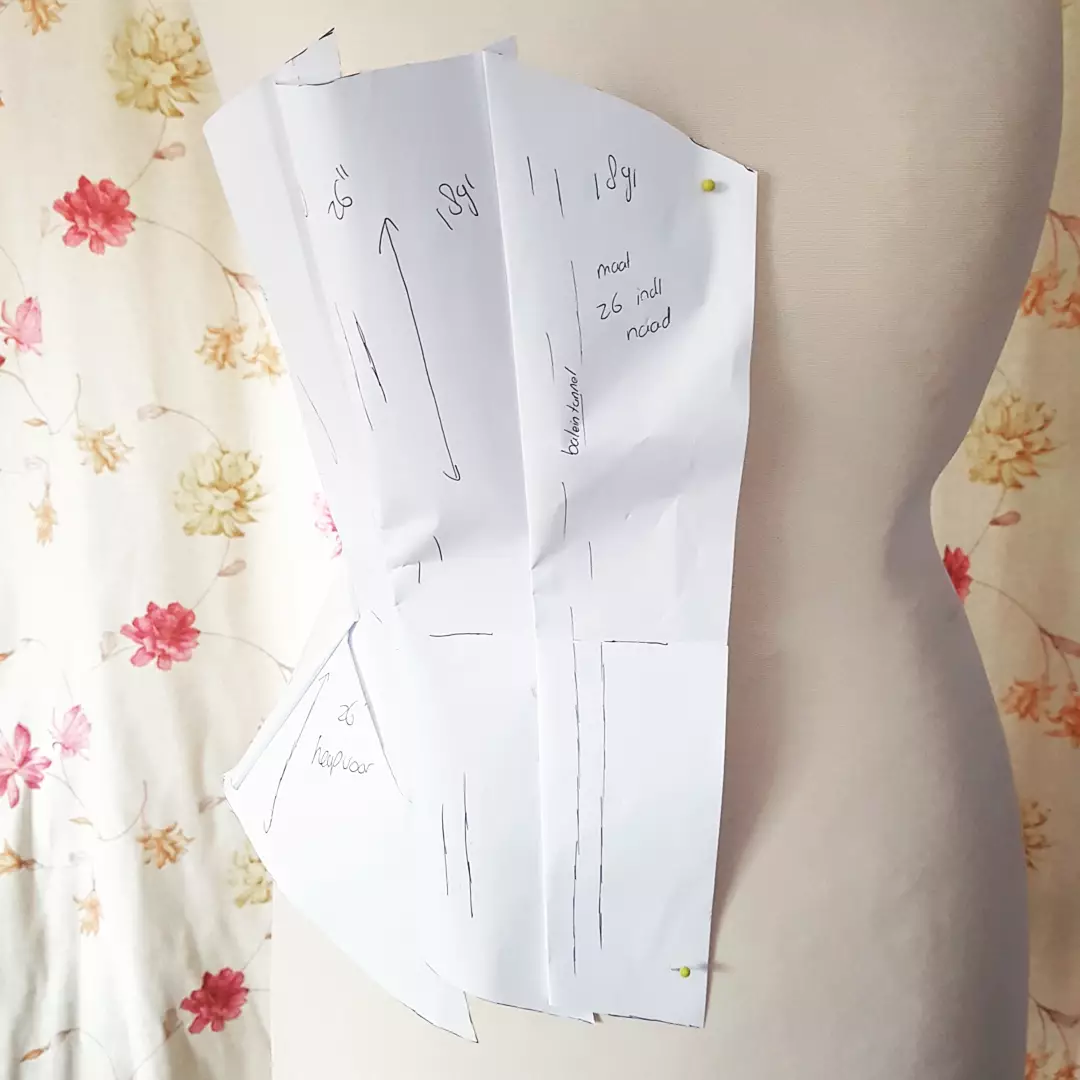
The first thing I do when working with a pattern like this is taping together a paper version of it to just check the pattern pieces. I traced a size 26 inch. I chose this size because it is closest to my size. This way I have the option of keeping it if it does not sell.
Right away I notice that the front hip gusset is longer than the 2nd front piece. Now I have two options, I can add some length to the front pieces or I can shorten the gusset. The drawing from this corset shows quite a pointed look. Since I love this look, and human beings are generally longer now than they were 100 years ago, I decided to go for the lengthening of the front pieces.
Well it has been a while. Currently I am busy with a study for my day job leaving me not that much time to sew. So there is tons of creative energy but not enough time to do all the projects I want to do. But finally I have taken the time to make some more progress with this corset!
20-03-2022 First steps
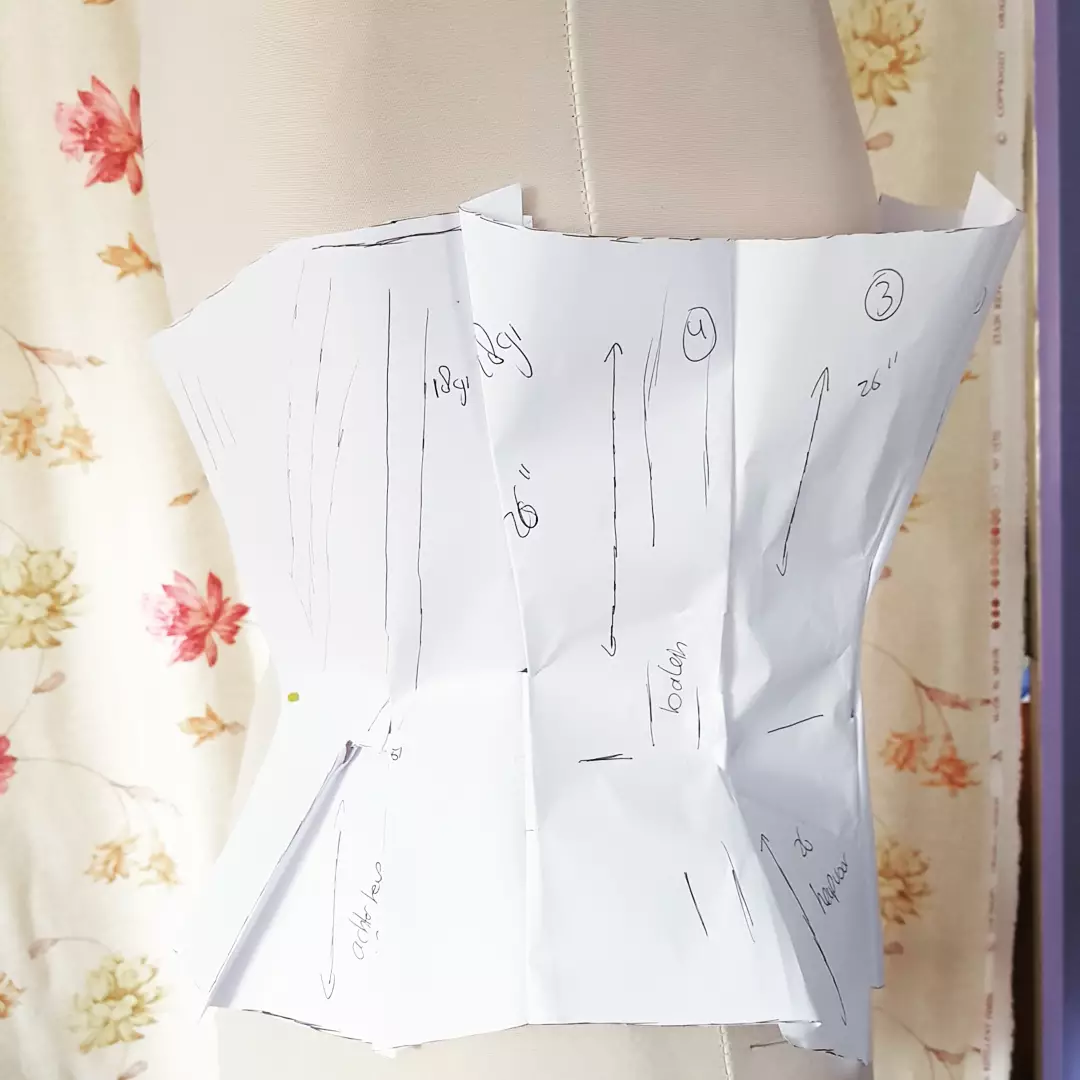
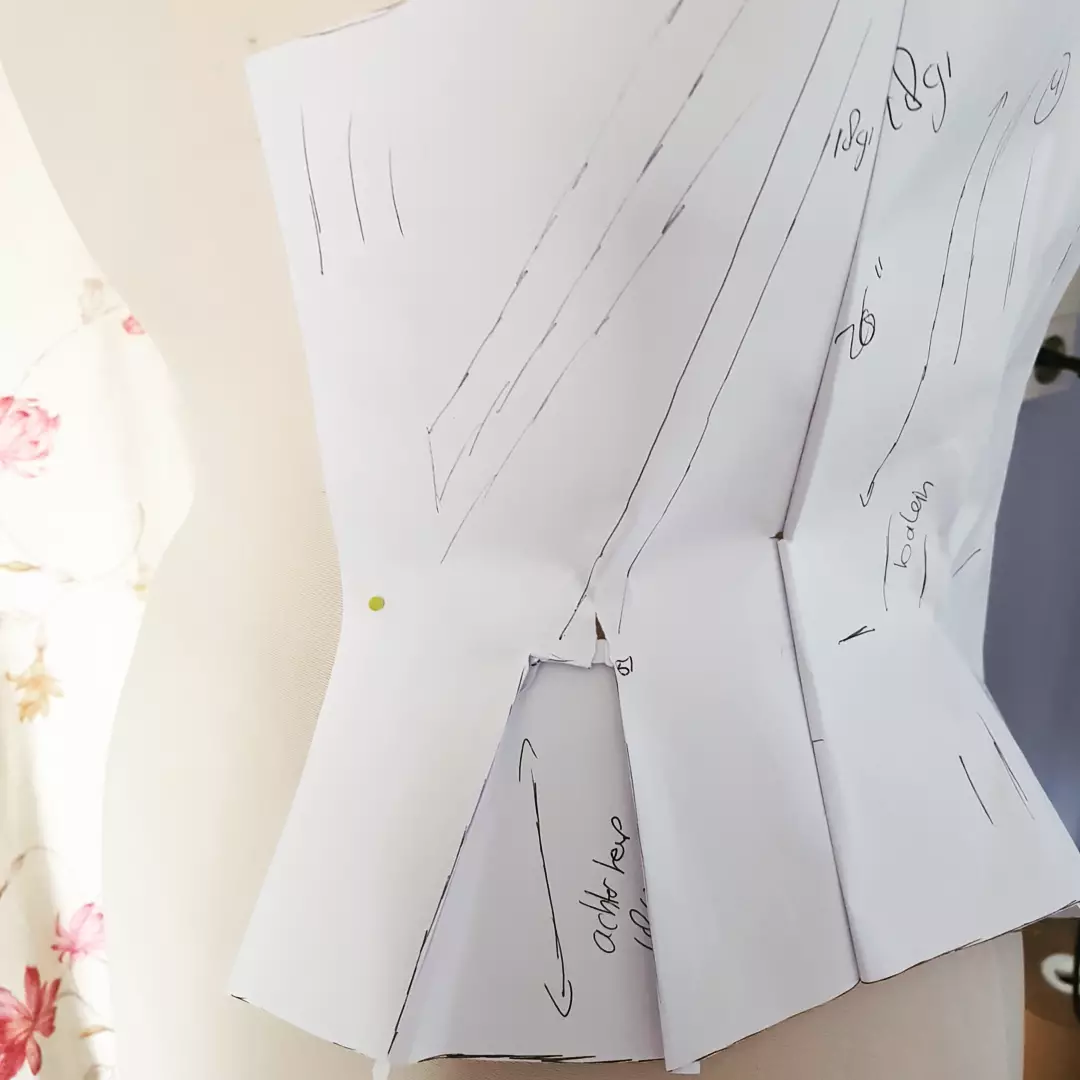
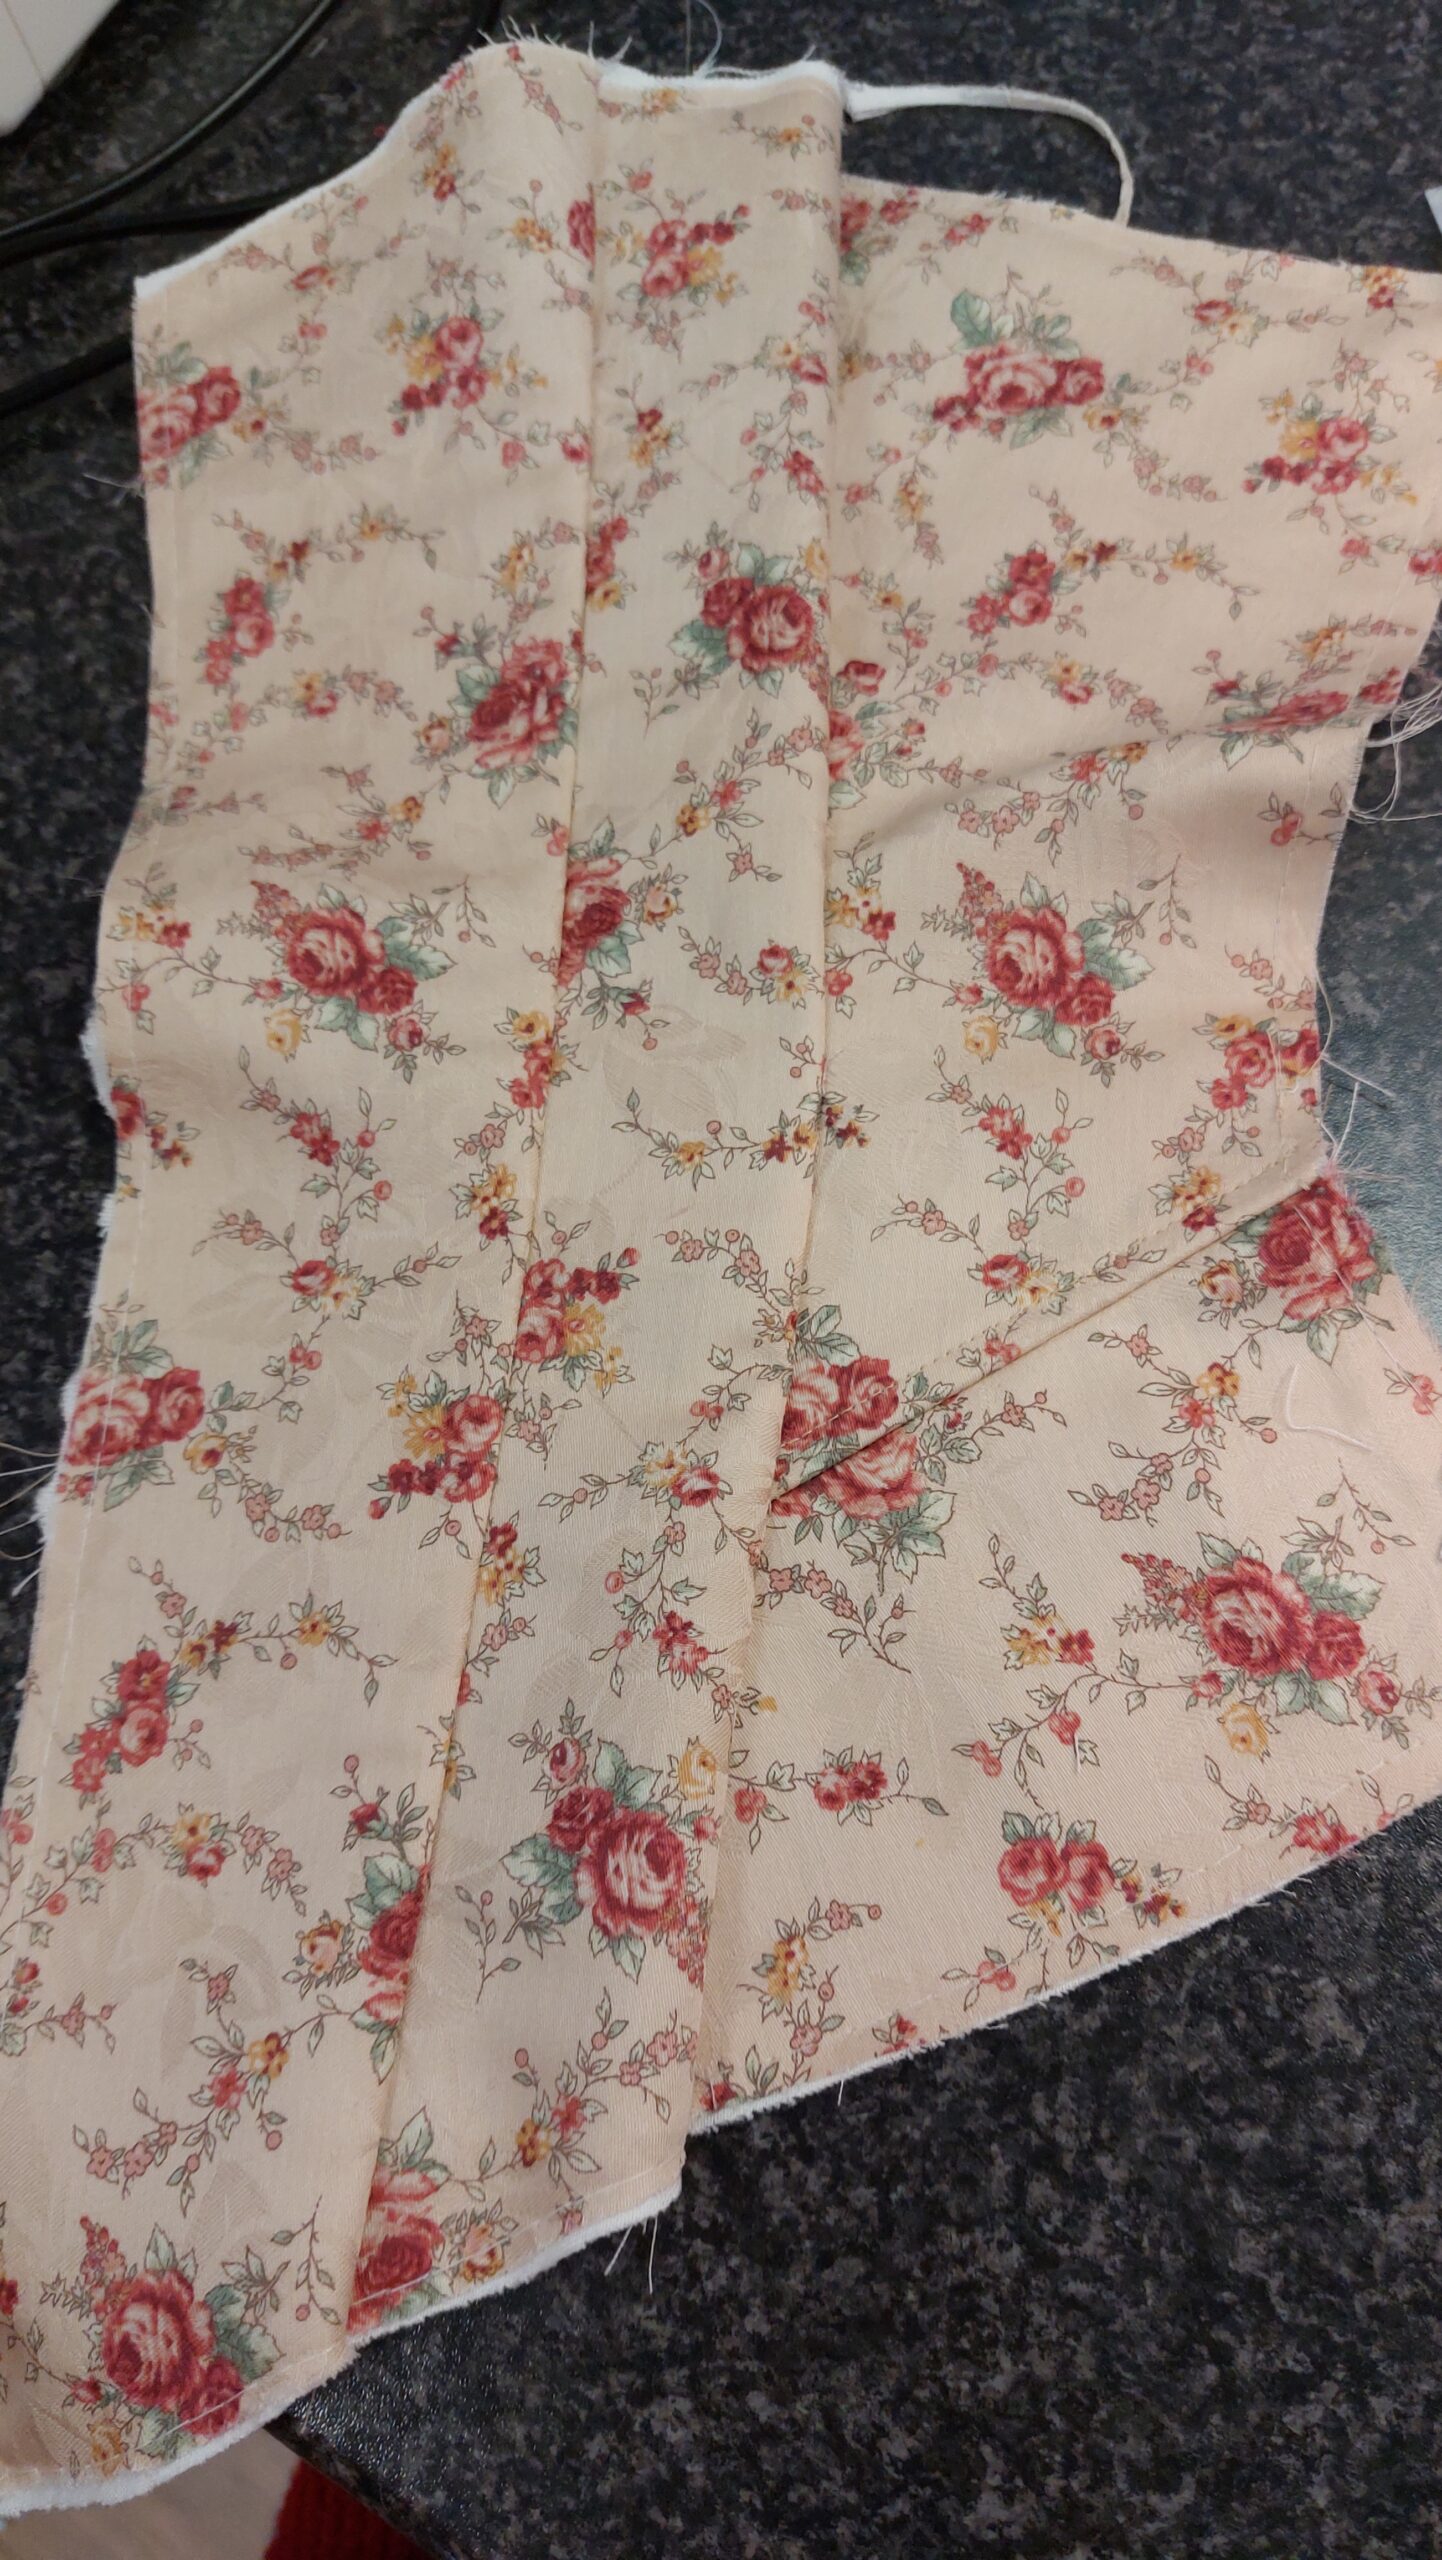
Here you can see the first and second panel and the amount I have lengthened the corset.

I am making this corset out of a floral quilting cotton and a coutil strength layer. Before assembling the corset stitch the floral cotton to the coutil and then treat it as one layer. In the past I have fused the cotton to the coutil, but I prefer to use a little glue in my sewing as possible. So when it is not necessary just don’t glue.
After attaching the fashion fabric to the coutil I stitched the first to the second panel. The seamlines are stitched twice.
29-5-2022 Corset Panels Assemble!
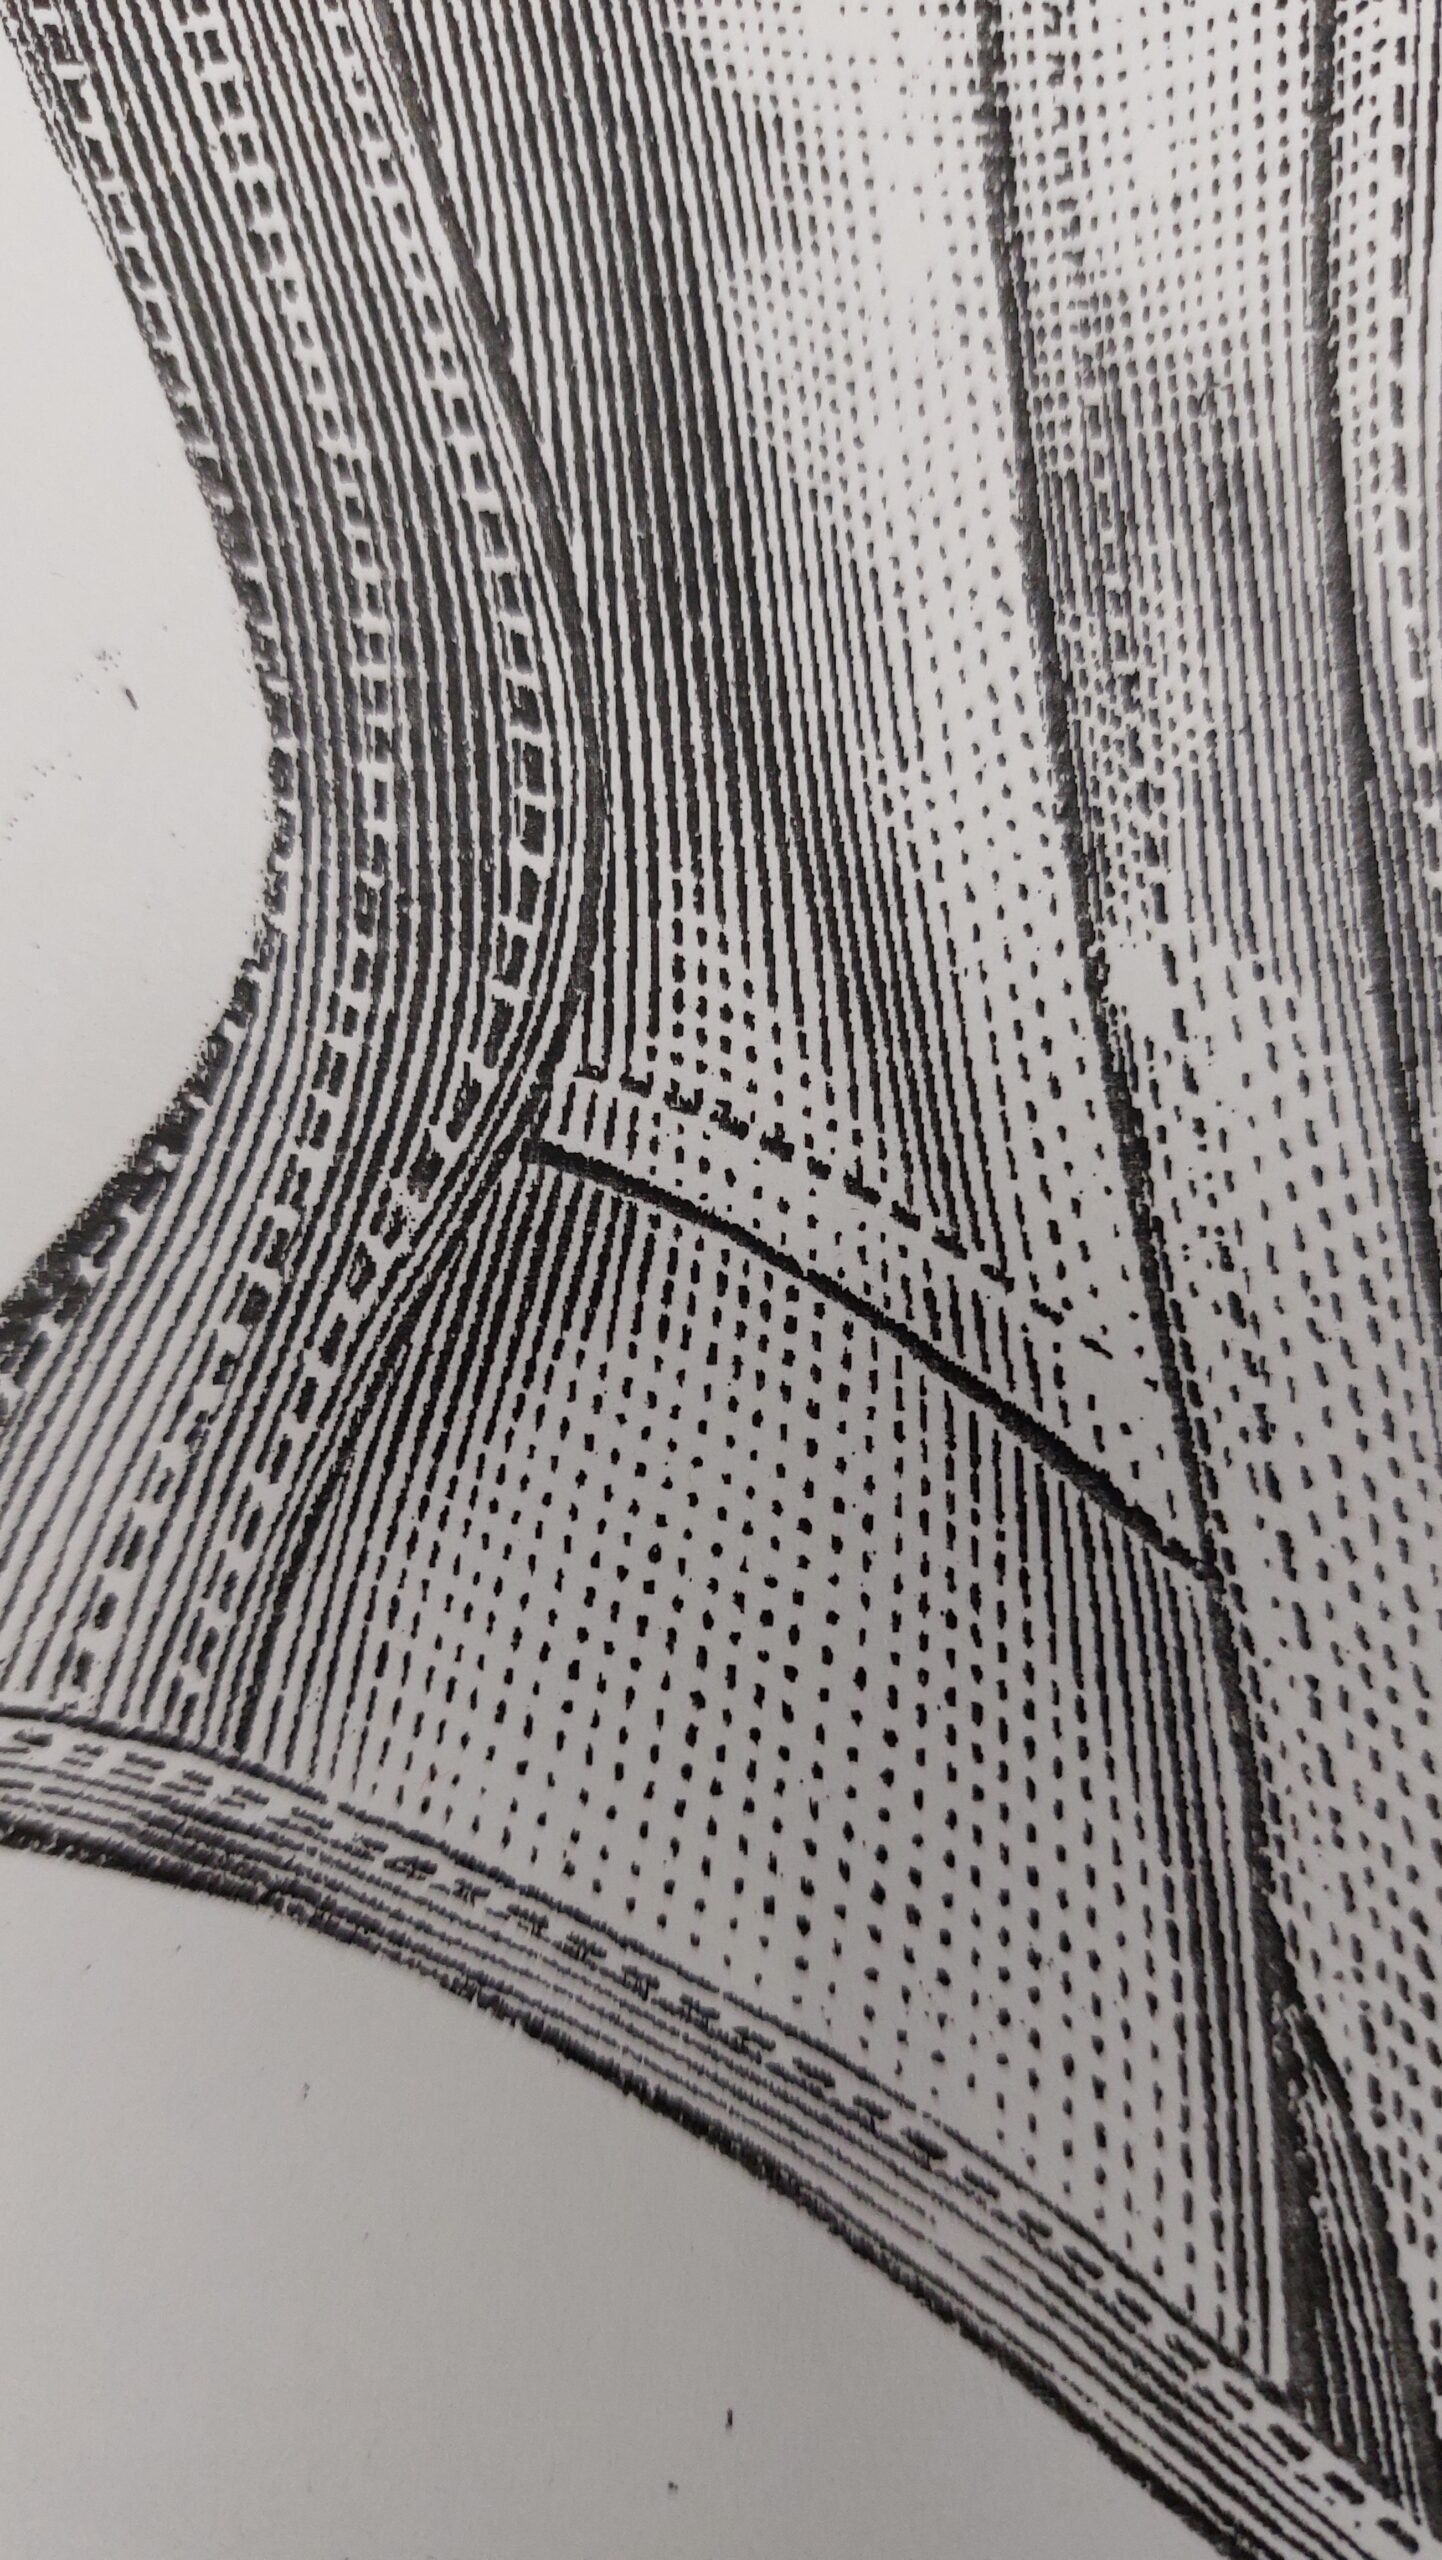
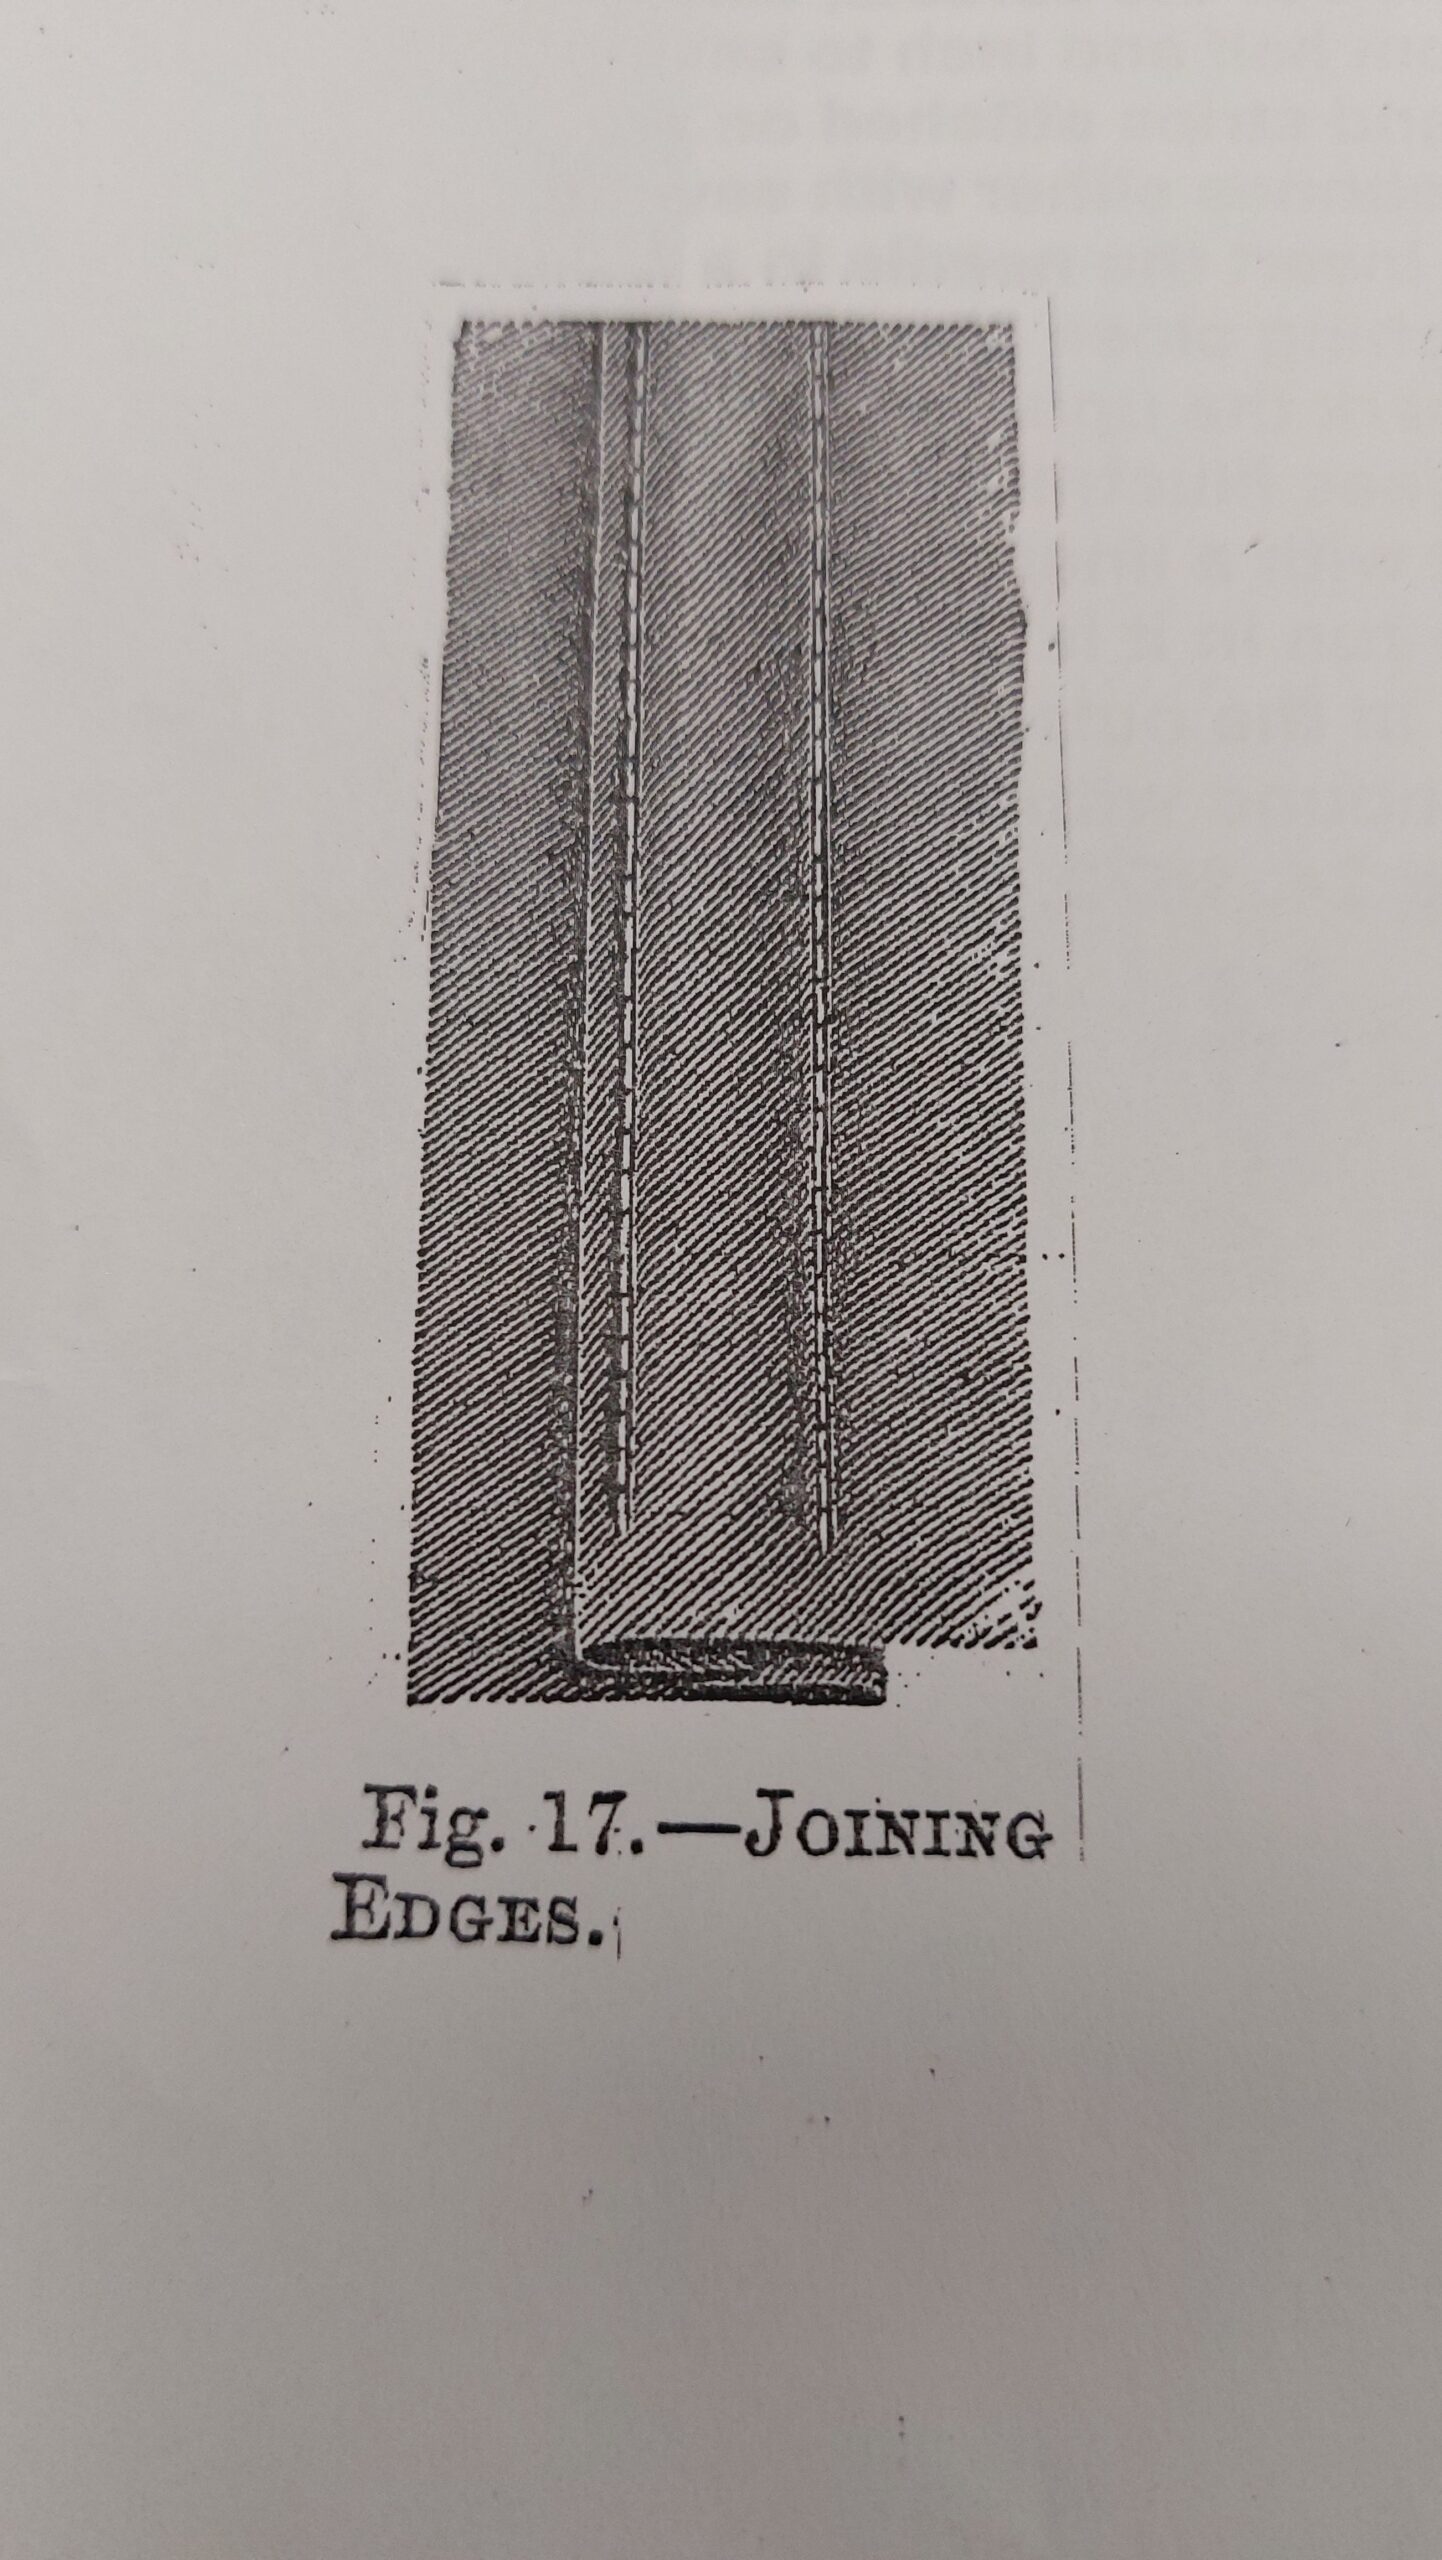
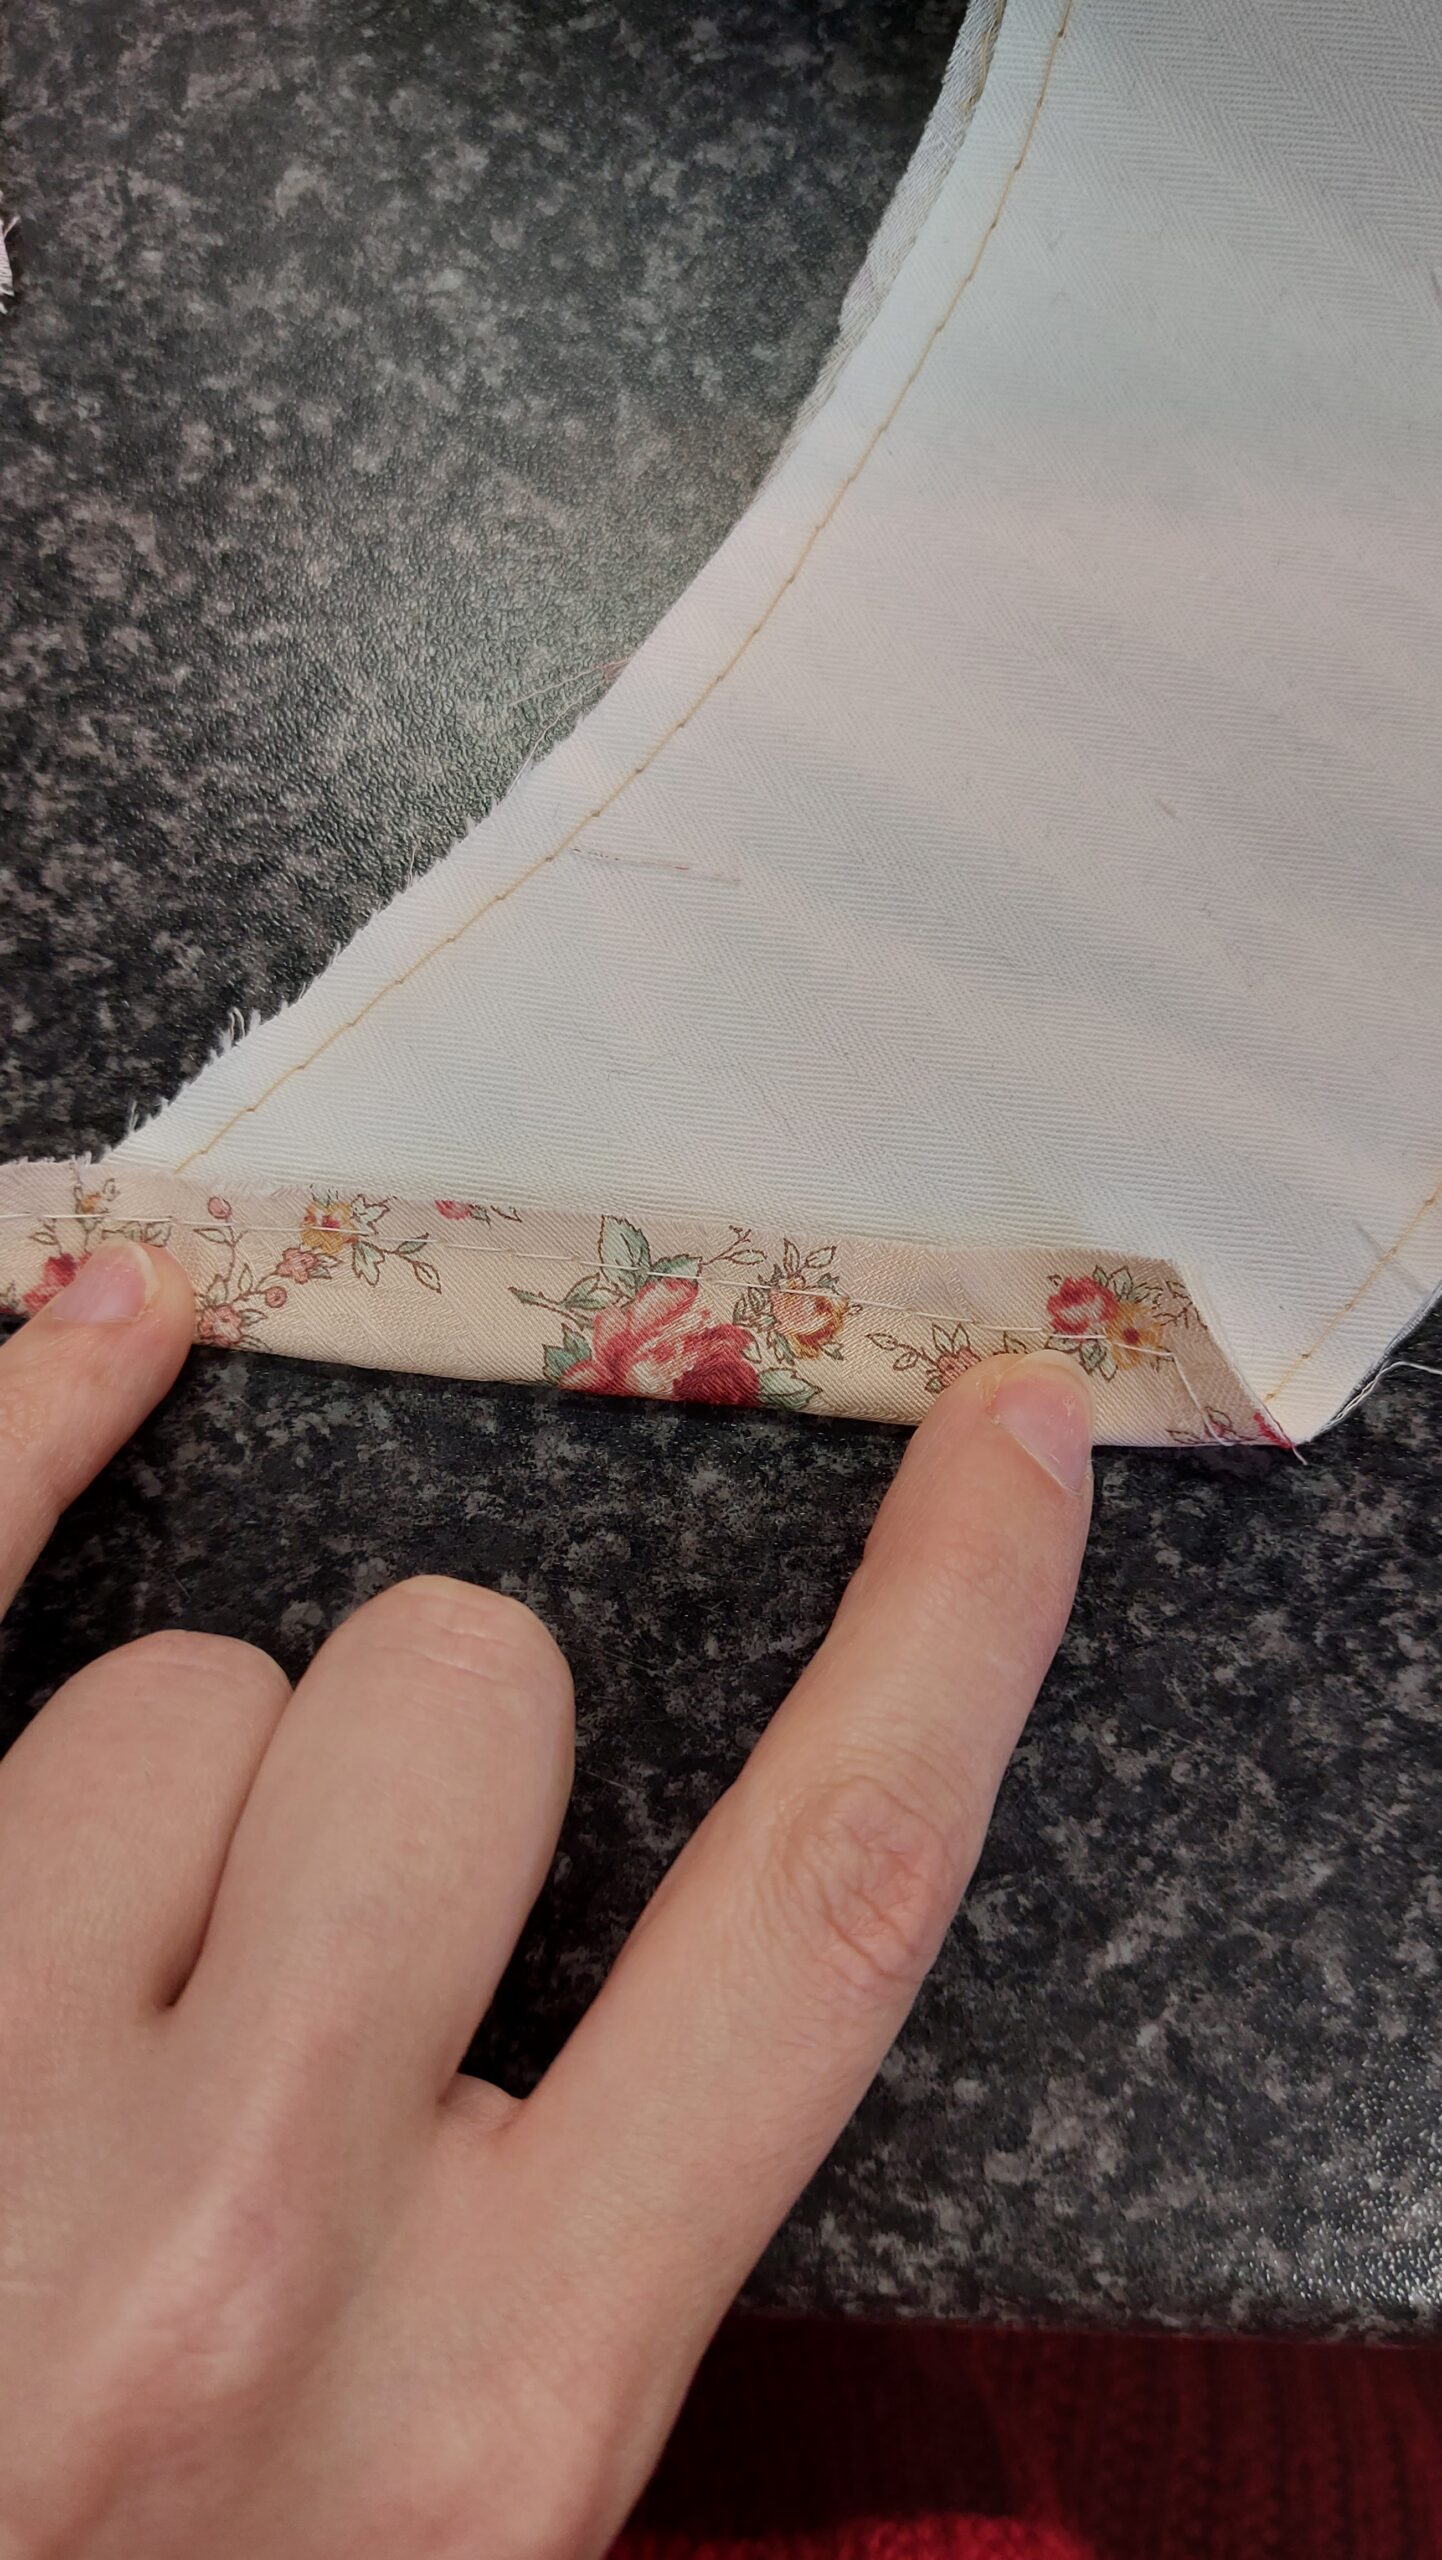
Now it is time to assemble the 3rd panel. This panel is made out of 2 pieces. A hip piece that is attached to the main piece. I want the corset to look as much as the example as possible, so I want to assemble this piece using the method shown with the pattern. I believe the English term is Flat Fell seam. (for the record, I am dutch)
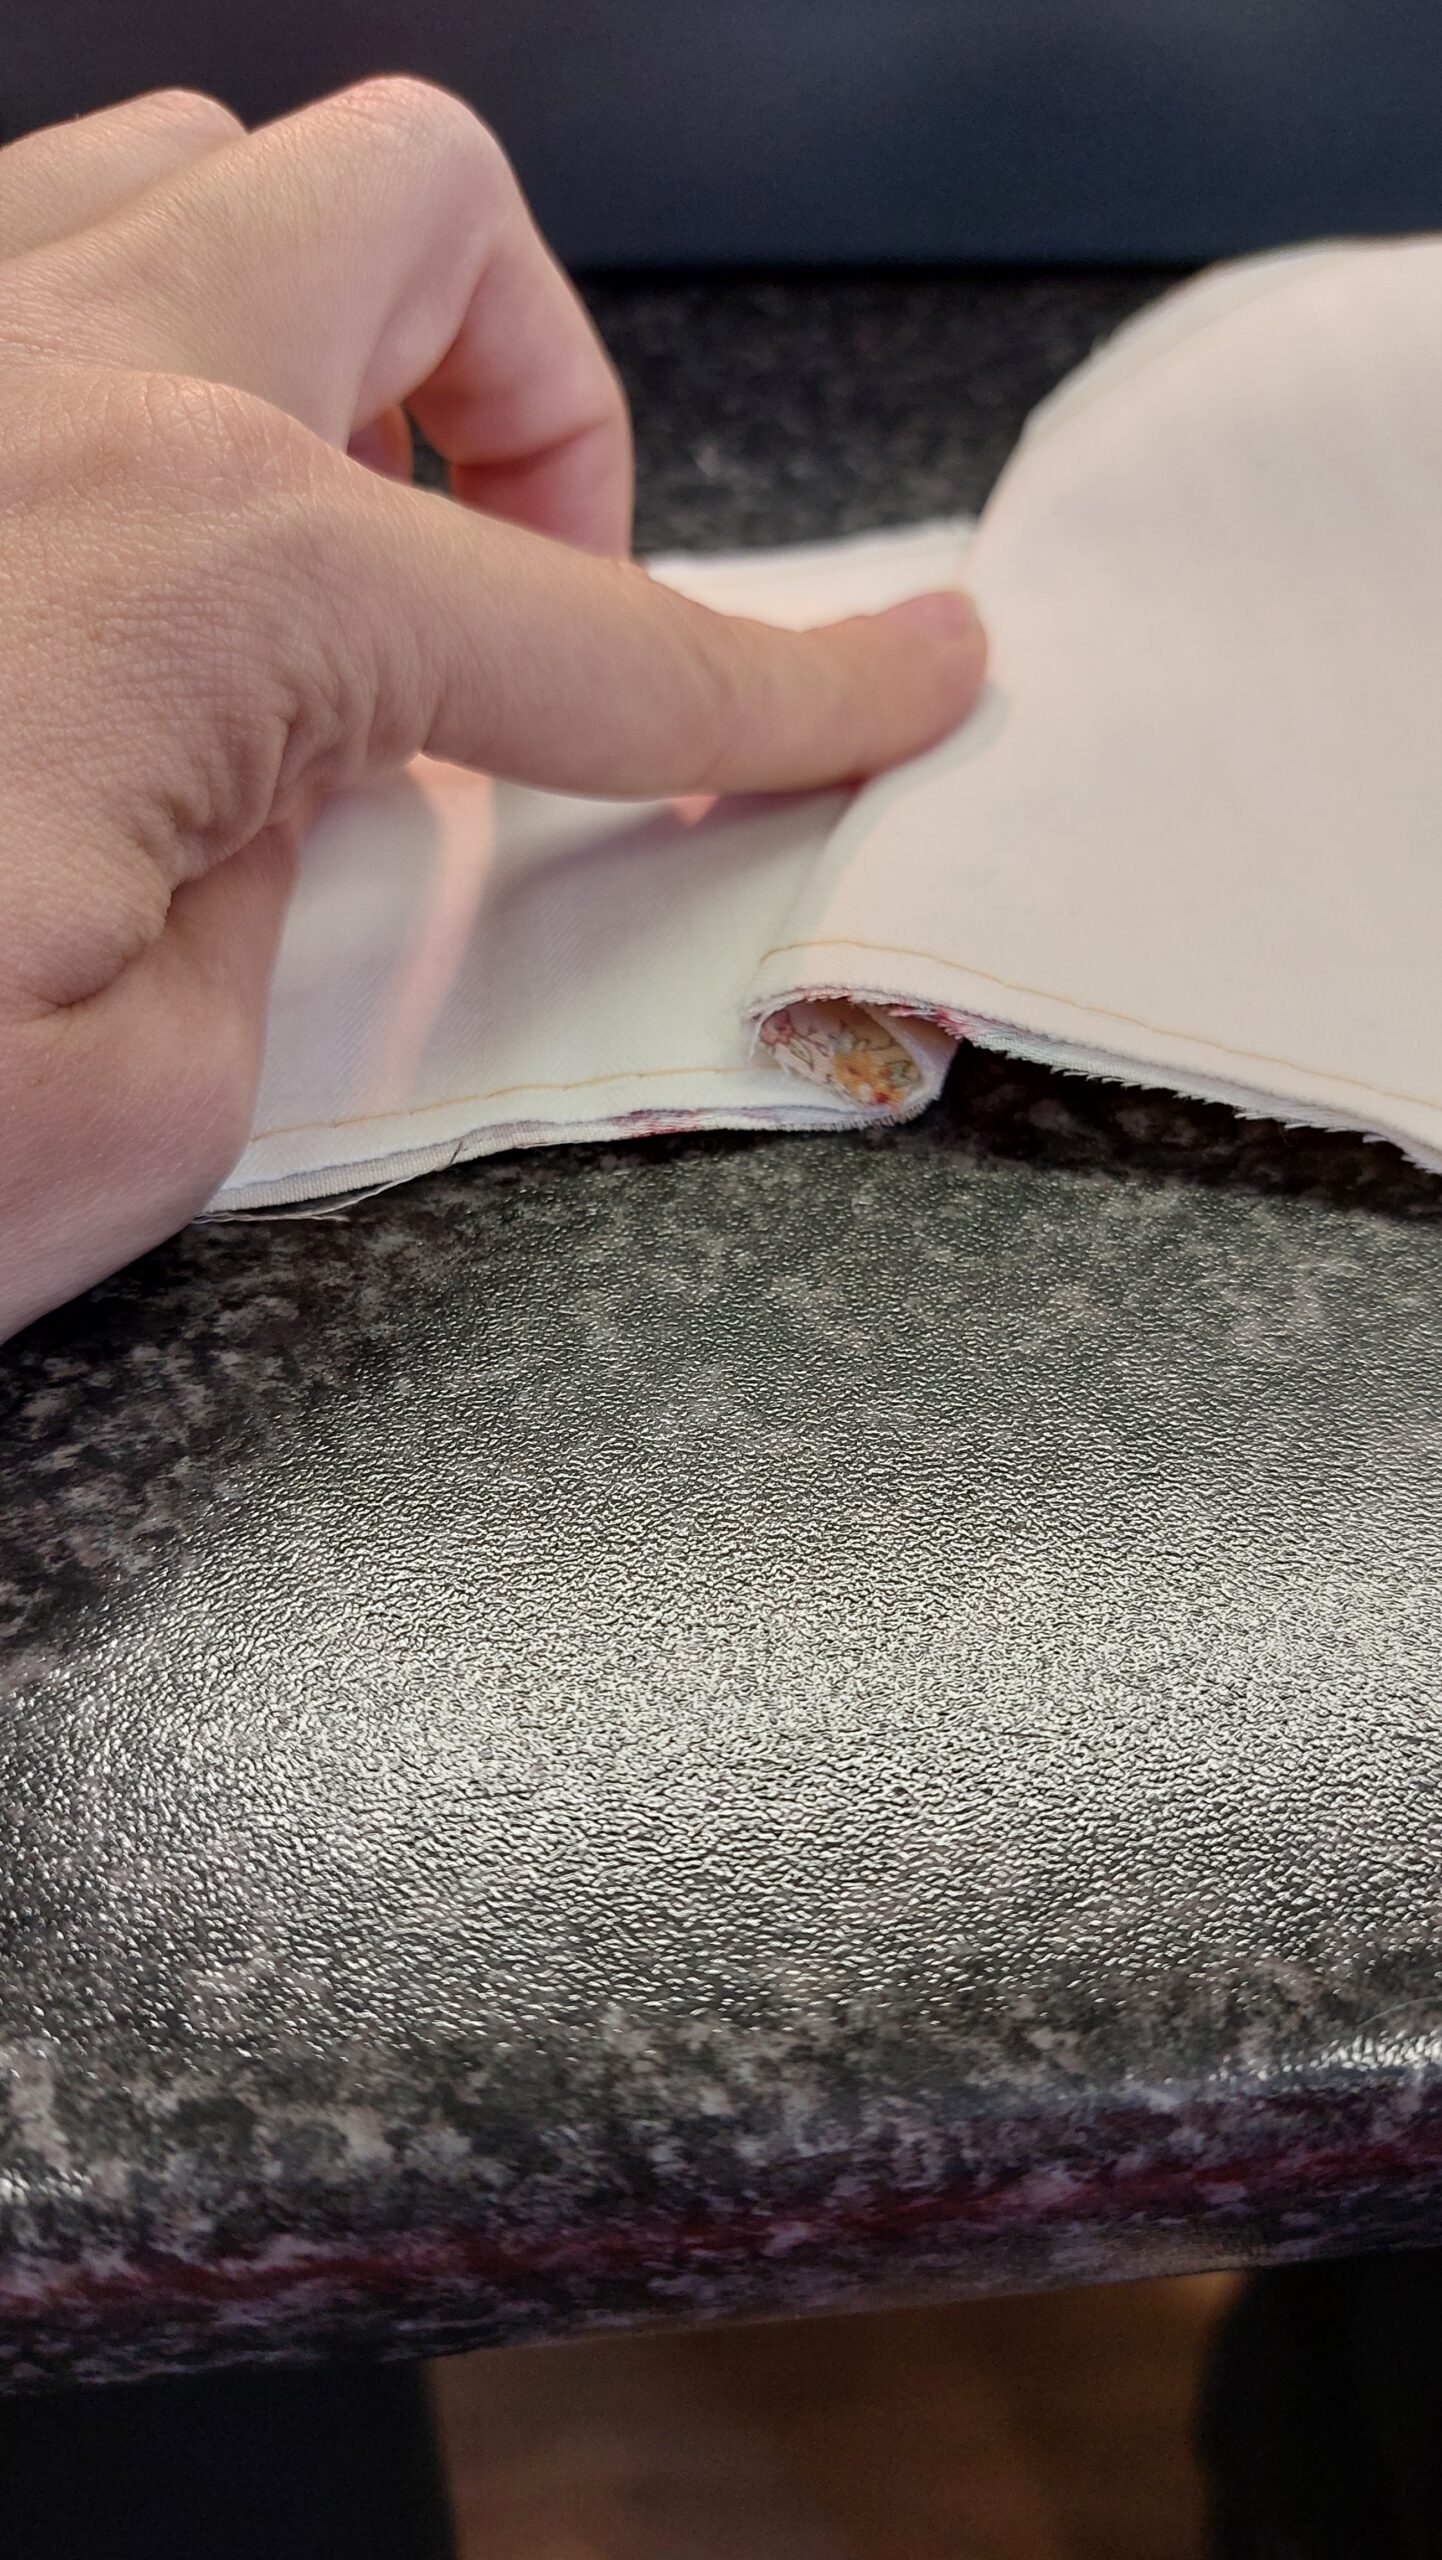
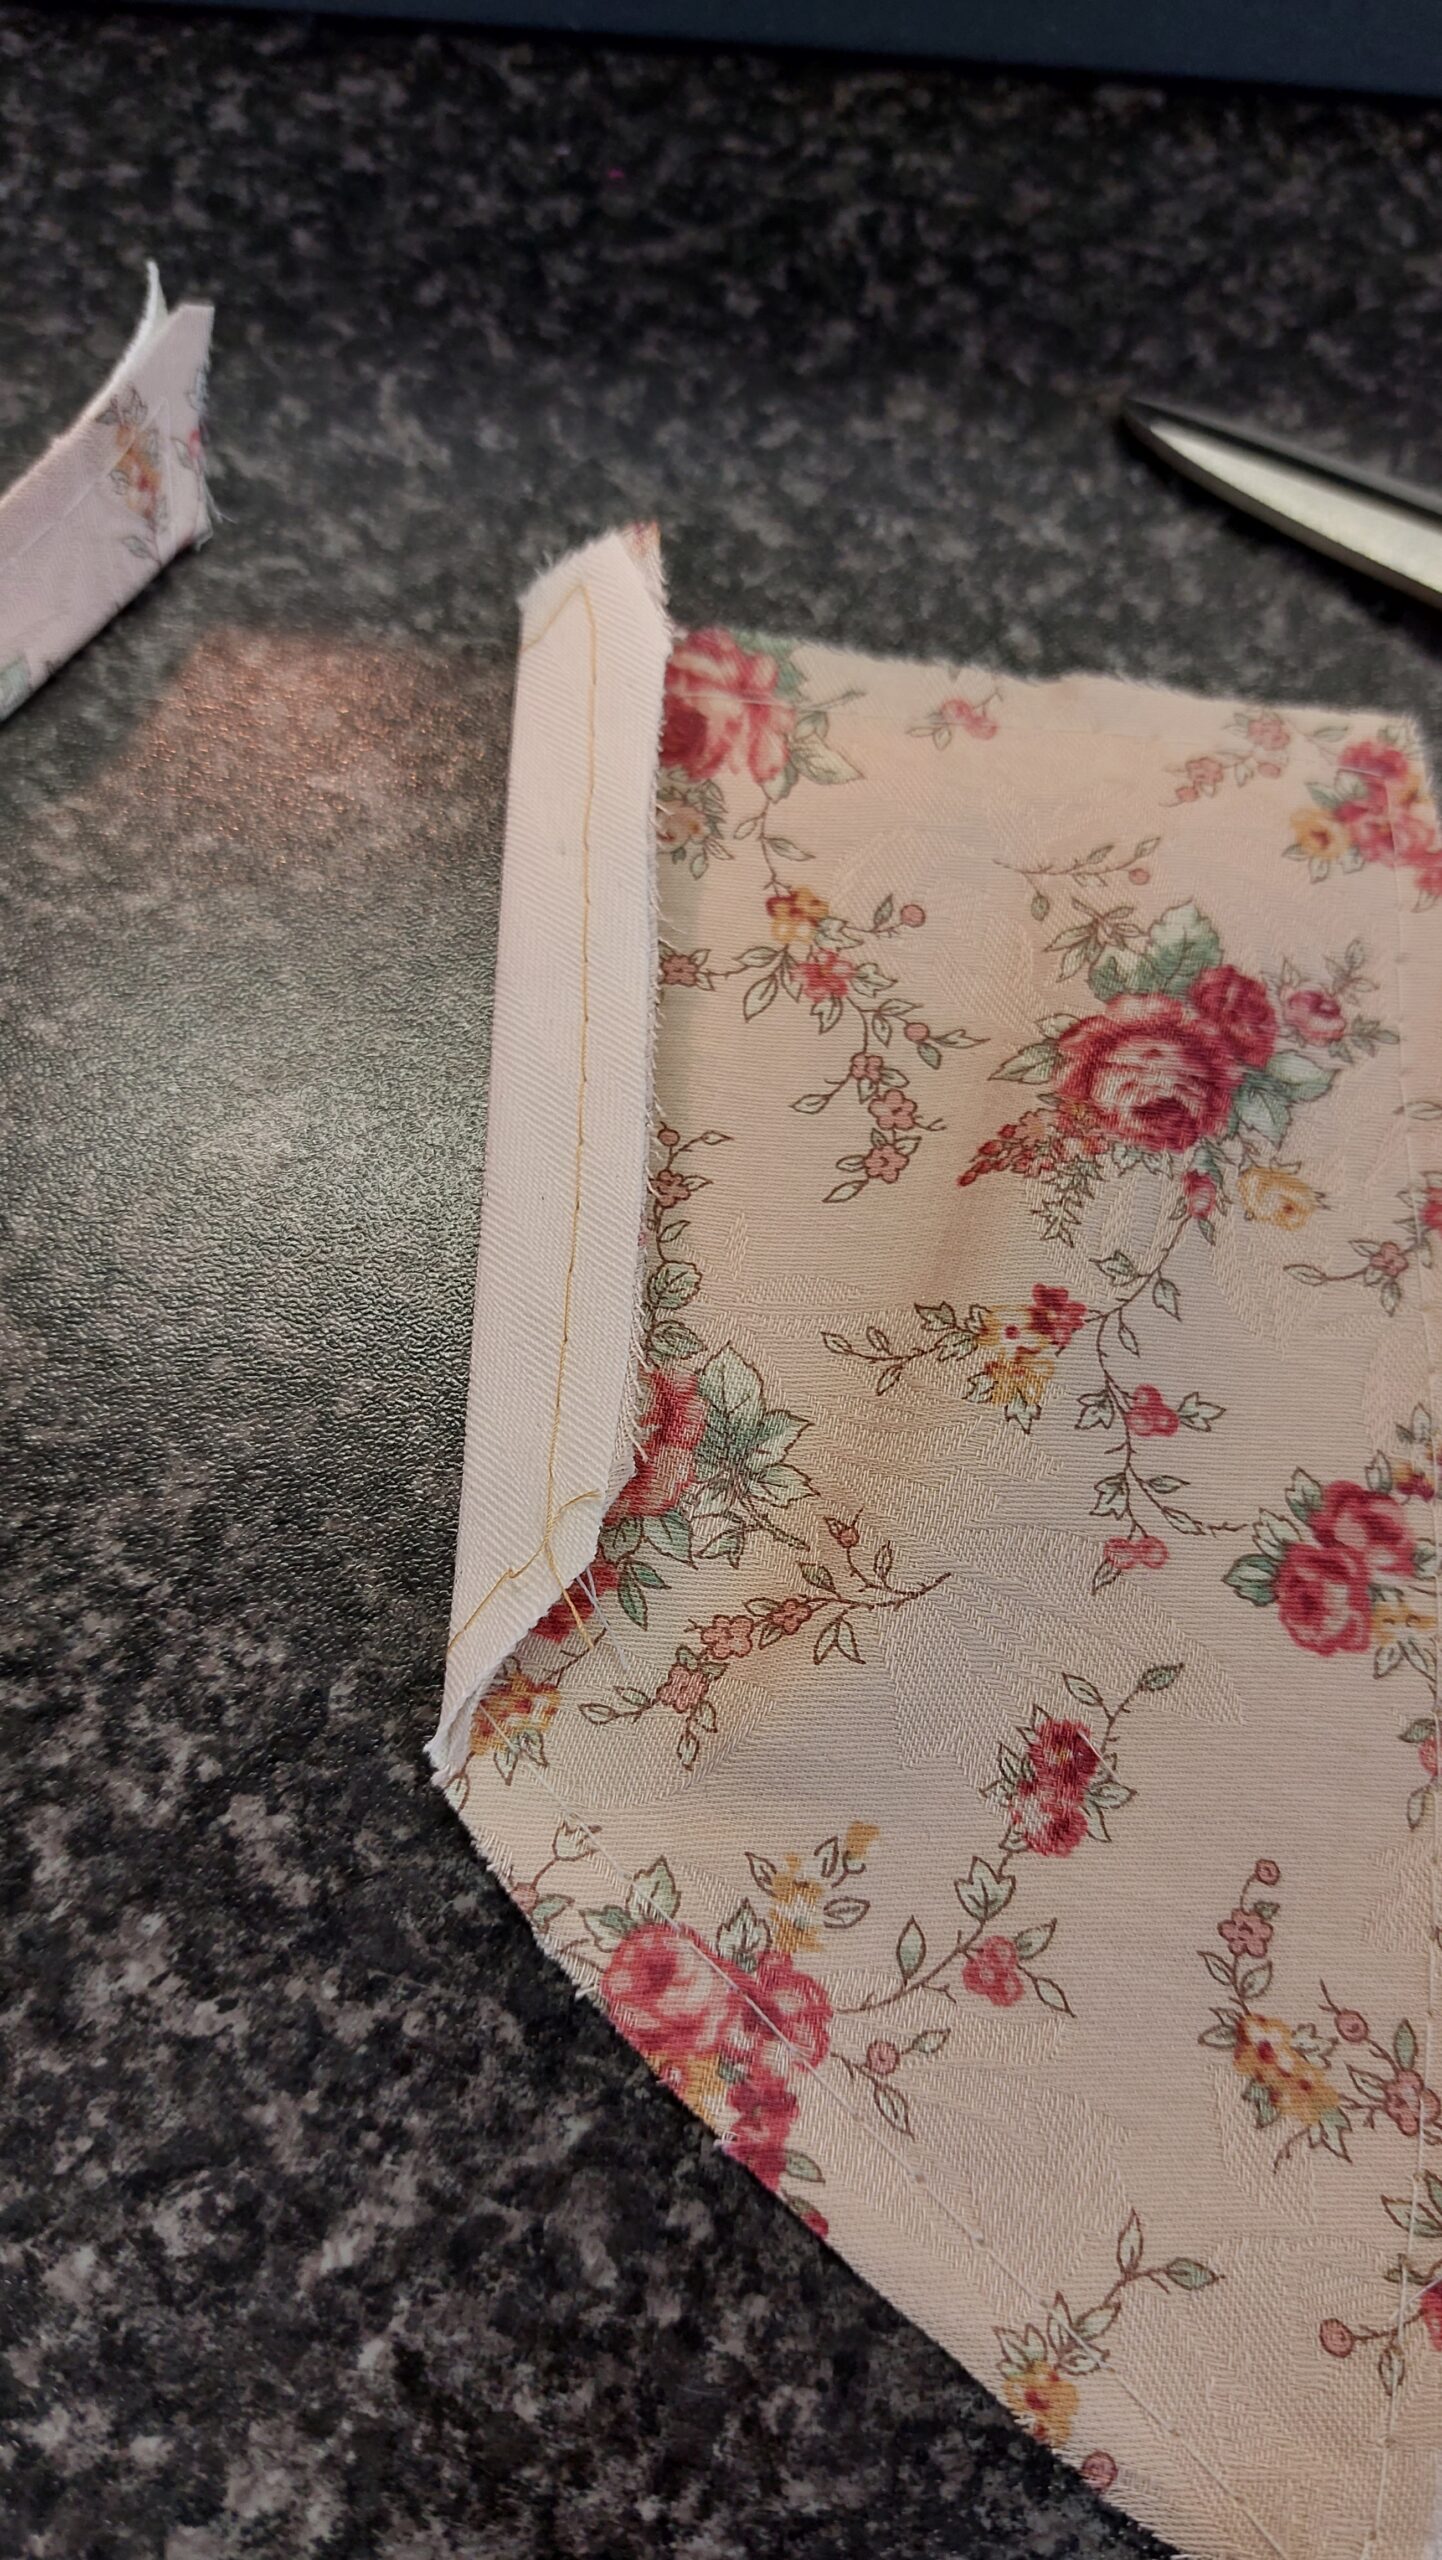
After that I stitched the panel and tada! It looks like a regular 3rd corset panel. This panel I attached to the first two.

Then it was already up to the 4th panel. (I just love how quickly it looks like a corset when you have the first panels assembled) The 4th panel has a bone down the centre of the panel and not just at the seamlines, so I went on ahead and stitched that boning channel in using regular bone channel tape.
Please note that I do allow comments underneath this blog post, if the amount of spam gets to high comments will be closed. You are of course allowed to ask questions, please note that with a full time job next to Skeletons it may take a while before I answer.