The making of the 1891 Ageless Patterns Riding corset

20-08-2021 The Start

After a bit of a summer hiatus I am trying to get back into the swing of things. With covid and the lack of events and such my sewing-focus is at an all time low. Now I have learned about myself in the past years that sometimes I just need to start on a project and then the creativity will follow. To make myself follow trough with this project I decided to document it on the Blog.

A corsetry colleague of mine was selling a part of the corset making collection, including this ageless patterns version of a 1891 riding corset. I bought this from her in the hopes that it will rekindle my love for corsetry.

Since this is not a commissioned project I decided that it has to be made largely from my stash of fabrics. I have had this floral quilting fabric for ages, the lace is left over from a commission from some years back, and the velvet ribbon is also a left over stash piece.

27-8-2021 – The pattern

If you have worked with Ageless patterns before you may know that the sizing is a little off at times. Ageless patterns takes patterns from historical sources and grades them. So the pattern is just as it was back then. They do add seam allowance.

The first thing I do when working with a pattern like this is taping together a paper version of it to just check the pattern pieces. I traced a size 26 inch. I chose this size because it is closest to my size. This way I have the option of keeping it if it does not sell.

Right away I notice that the front hip gusset is longer than the 2nd front piece. Now I have two options, I can add some length to the front pieces or I can shorten the gusset. The drawing from this corset shows quite a pointed look. Since I love this look, and human beings are generally longer now than they were 100 years ago,  I decided to go for the lengthening of the front pieces.

Well it has been a while. Currently I am busy with a study for my day job leaving me not that much time to sew. So there is tons of creative energy but not enough time to do all the projects I want to do. But finally I have taken the time to make some more progress with this corset!

20-03-2022 First steps

Here you can see the first and second panel and the amount I have lengthened the corset.

I am making this corset out of a floral quilting cotton and a coutil strength layer. Before assembling the corset stitch the floral cotton to the coutil and then treat it as one layer. In the past I have fused the cotton to the coutil, but I prefer to use a little glue in my sewing as possible. So when it is not necessary just don’t glue.

After attaching the fashion fabric to the coutil I stitched the first to the second panel. The seamlines are stitched twice.

29-5-2022 Corset Panels Assemble!

Now it is time to assemble the 3rd panel. This panel is made out of 2 pieces. A hip piece that is attached to the main piece. I want the corset to look as much as the example as possible, so I want to assemble this piece using the method shown with the pattern. I believe the English term is Flat Fell seam. (for the record, I am dutch)

After that I stitched the panel and tada! It looks like a regular 3rd corset panel. This panel I attached to the first two.

Then it was already up to the 4th panel. (I just love how quickly it looks like a corset when you have the first panels assembled) The 4th panel has a bone down the centre of the panel and not just at the seamlines, so I went on ahead and stitched that boning channel in using regular bone channel tape.

Please note that I do allow comments underneath this blog post, if the amount of spam gets to high comments will be closed. You are of course allowed to ask questions, please note that with a full time job next to Skeletons it may take a while before I answer.

Dutch Masters Underbust

Dutch Masters Corset

This fabric has become a bit of my thing over the past years. I love the colour and print on this cotton fabric. 

This corset was made for a lovely experienced tightlacer. This means that the corset is extremely curvy. 

When working with a patterned fabric you need to match the pattern or else the entire corset will look like an imbalanced mess. However due to the extremely curvy nature of this corset you cannot match the pattern everywhere, you have to choose where you want the flowers to flow over from one panel to the other, and where you are ok with not making the cut. Also, you have to keep in mind the grain of the fabric you are working with. After all you do not want wrinkles. 

All in all, I am quite proud of this corset.

As you may have noticed, although I am not taking on any big orders (I still have my full-time job) I have found some room in my schedule for the occasional corset or bra. Please do understand that I do not wish to have a year fully booked, so I am taking it a season at the time. In a period of 3 months I take on a very limited amount of orders. For this fall we did the Dutch masters bra’s and Moonchild corsets, and for the winter we will open for 2 or so corset orders. 

Stay tuned and follow me on Instagram and Facebook if you want to be the first to know. Or even better sign up to my mailing list. 

Black is such a happy colour

Victorian Halfbust corset front

People who know me for a while know that I started sewing when I wanted to wear gothy clothes. This evolved into a fascination with the Victorian era and corsetry.

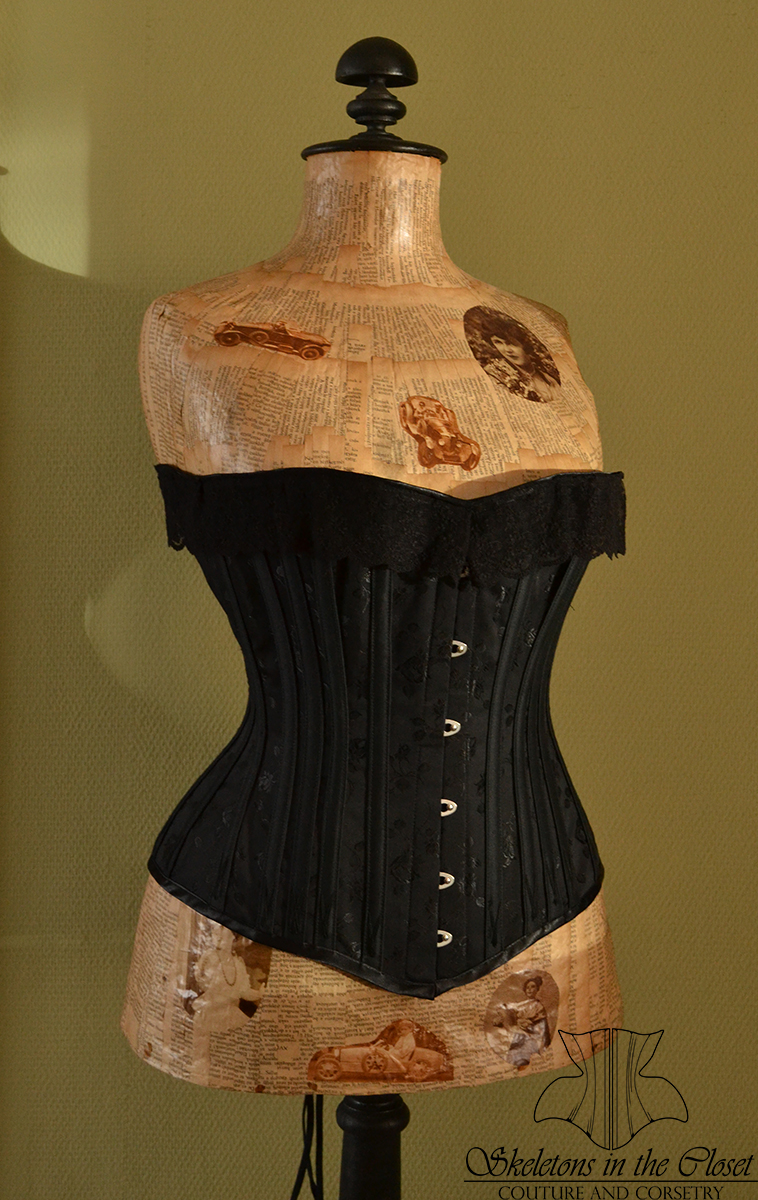
When my client asked me to make her a Victorian corset in all black materials I was very happy. Combining the two things I love. We chose as a base a corset modelled after one of the Symington patterns. For a true historical look. It is the same style I used as a basis for the Victorian halfbust corset.

We talked a bit over skype for the measurements and the materials.

Victorian halfbust corset

We chose a Black Rosebud coutil, with black cotton sateen coutil boning casings. The top of the corset is trimmed with a black cotton lace. The boning casings are finished at the bottom with black cotton perle flossing.

Victorian Corset Flossing

At the back of the corset I added two diagonal bones. For a historical touch.

Victorian Halfbust corset

So we have a lot of black ingredients in this corset. The external boning casings and flossing adding texture to a corset that might have been seen as boring otherwise.  I love it. And I hope you love it too.

There is always room for improvement, The Heather Corset Overhaul

At Skeletons in the Closet we always try to improve our work. Me in the pattern drafting department, and my husband when it comes to the hardware part of the work.

As you may know this year we have been working on new standard size corsets, couture shapes and historical examples. It was also time to review some of our standard size items. Not because they were bad, but just because there is always room to improve. We learn something every day after all! If we do no longer feel the need to improve or find better ways to do things, why continue. So with every corset I try to make a better corset than the last one I made.

The Heather Longline corset has been one of my favourite corsets. This probably is because it reminds me of the Edwardian corsets I love so much. When we started out creating the standard size version of the Heather corset in 2013 we decided to go for a bit of a conical underbust shape that gently sloped out to the hips. It has 5 panels on each side, a wide busk and 20 pieces of steel boning.

Here is a picture of the first Heather corset. Brocade coutil wil satin coutil boning casings. lowhip.

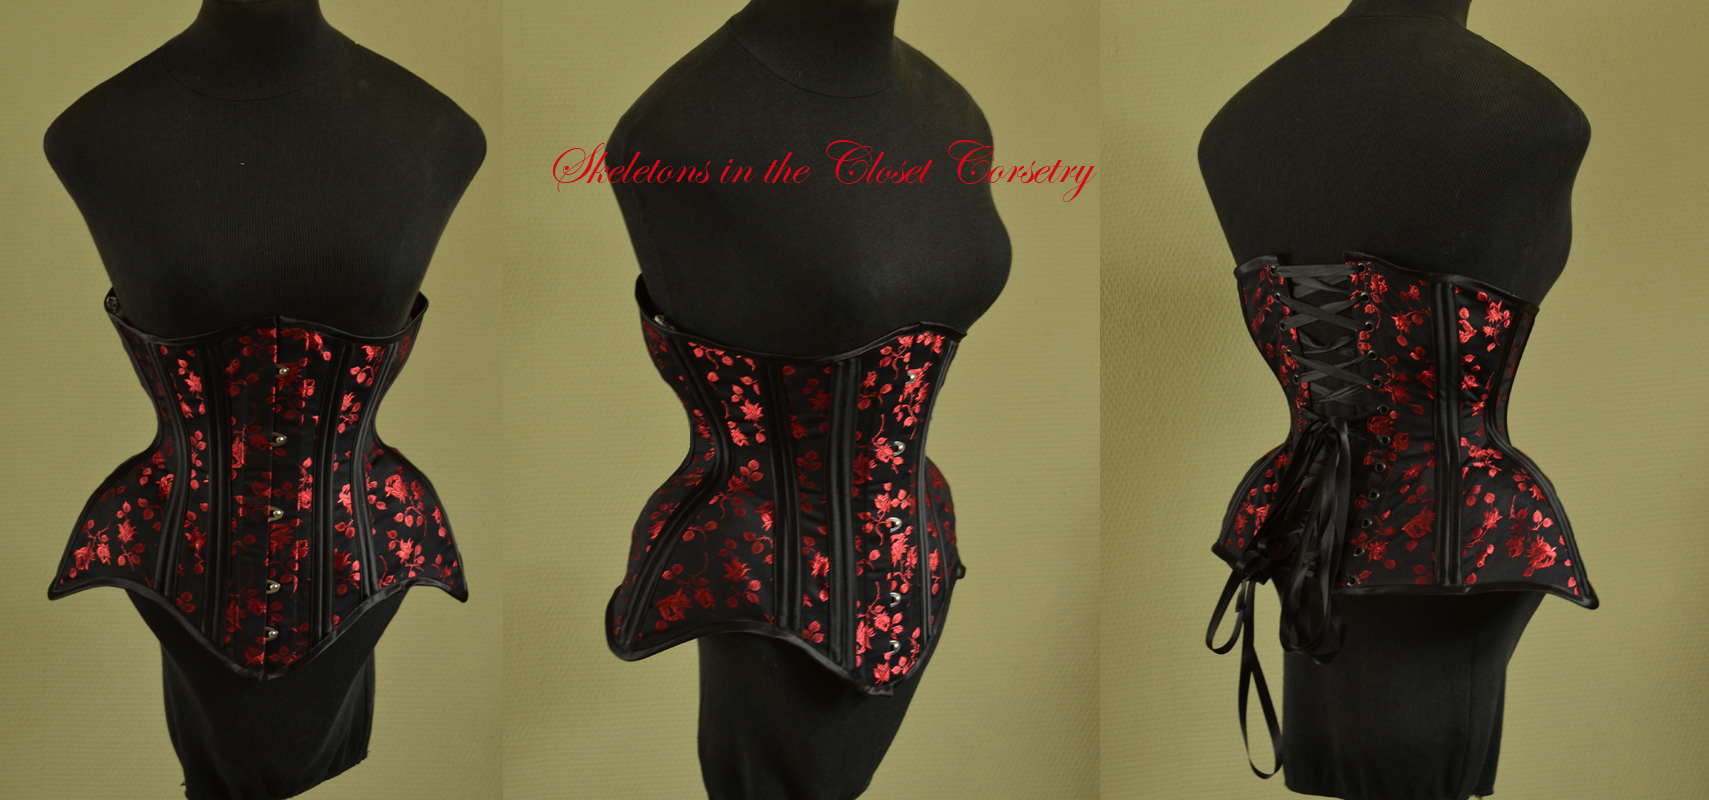
I decided to give the Heather corset a makeover. The first part of the makeover is that I wanted more of a cupped rib shape instead of a conical shape. A cupped rib shape allows for an easier cinch at the waist without too much compression at the ribs. There is also a little added room at the back to avoid spillage.

I also added more room in the hips. Combined with the cupped ribs this might mean that you can now go a size smaller than usual. Although it is a single layer corset, the corset is strong and you can achieve a 5-6 inch reduction should you choose.

We still make the corset out of a brocade coutil with satin coutil boning casings. For this example I chose the red and black rosebud coutil. My all-time favourite.

As finishing touch I added an inch at the back of the corset making it a more high back corset.

The corset still has the 30 cm long wide busk at the front to keep it flat.

Heather Corset
Heather Corset


Here is the new standard size chart for the Heather Longline Corset. Of course made to measure will always be an option.


Size Underbust Waist Hips
18 inch 66 cm 46 cm 79 cm
20 inch 71 cm 51 cm 84 cm
22 inch 76 cm 56 cm 89 cm
24 inch 81 cm 61 cm 94 cm
26 inch 86 cm 66 cm 99 cm
28 inch 91 cm 71 cm 104 cm
30 inch 96 cm 76 cm 109 cm
32 inch 101 cm 81 cm 114 cm


This corset will be available for order through the webshop from the 1st of September 2016. The price for standard size corset will be 295 euros excluding shipping. Now you know what to save up for!

All corsets are made by us in our atelier here in the Netherlands. This means that it is possible for me to change parts of the corset, to make it suit you better. For example if you prefer the conical rib shape, it is no problem to change that!

Here are the bigger pictures of the corset. The corset is also available as a ready to ship item in the webshop.

HeatherCorsetFront heathercorsetsideheathercorsetback


Sheer corsetry

Sheer corsetry.

As you may know, I was a little late to the sheer corsetry party. Having tried to work with lingerie mesh, and non coutil strength layer before (both not to satisfaction) I was not sold on the idea of using a mesh fabric for corsetry. After all a corset is supposed to be strong and durable.

However, seeing some amazing examples of sheer corsetry I decided to take the plunge.

The first sheer item I made was the girdle. A combination of a vintage style girdle and a corset. This lightly boned corset soon became my favourite to wear. I now have two versions of this girdle for personal wear, a light and a dark one.

Sophia Eden girdle
Sophia Eden girdle

Something you should know about corsetry mesh, is that although it does not stretch is does have a little give. This means that it will break in easily and quickly forms to your body while still being strong enough to chinch.

A corset in mesh feels flexible and airy, it is a great material for cupped rib corsets and lingerie like pieces. They are also fun to wear with a contrasting colour underneath. As corset mesh is only available in black and ivory, they are also pretty to combine with coloured silks. Like this Honoria Waspie.

Sheer Honoria Waspie


The down side of the mesh is that it is made out of polyester. So I always wear something underneath my corsets, both to protect my corset from sweat and to protect my skin from the sometimes harsh feel of the polyester. A mesh corset is not always the better choice in hot weather, sometimes a single layer cotton coutil corset might even feel better.

There are corsetmakers who use cotton bobinette. This is something I have yet to experiment with, but could be something for the future. Being made out of cotton it must feel more comfortable against the skin.

Is a sheer corset better or worse than a cotton coutil corset? That would depend on where you need the corset for, what type of wearer you are and what you expect of a corset. Not all corsets are suitable for every corset wearer, and not all corset wearers have the same needs from their corset every day.

If you are a lacer who likes a strong feel of the corset, you might want a double layer coutil corset. If you need something lingerie like, but still strong a sheer corset might be just the thing.

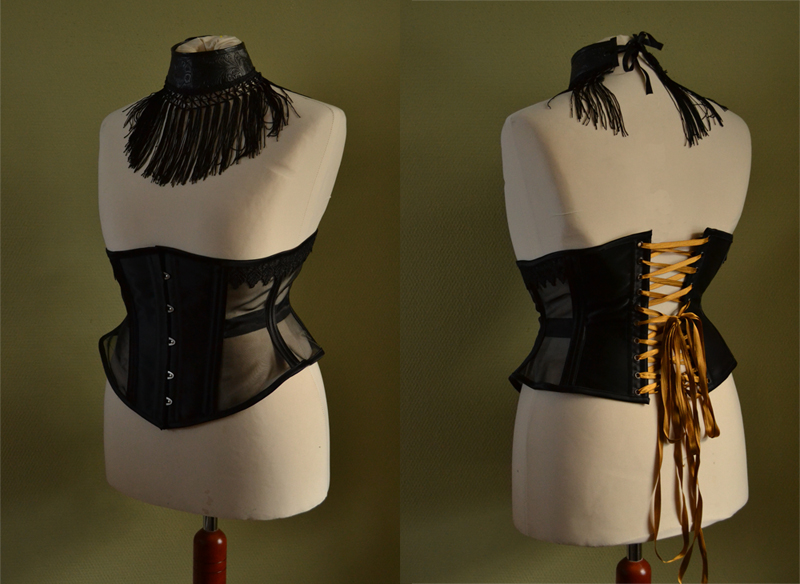
Here is my newest example of sheer corsetry. A Lady Aistikas corset in satin coutil and corsetry mesh, with external boning casings and a little bit of lace. The lady Aistikas corset is a four pannel corset, that gives quite a bit of curve. As you can see on this lovely woman! Necia Navine shot this corset and collar for me.


Lady Aistikas corset and Fringe Collar by Skeletons in the Closet. Model and Photographer Necia Navine.

And on the dummy!

Sheer Lady Aistikas Corset


If you would like your own made to measure sheer Sophia Eden girdle, or lady Aistikas corset. They will be available on the website as made to order items on the 1rst of September 2016. I know it is a little while away, but we are booked up until then.